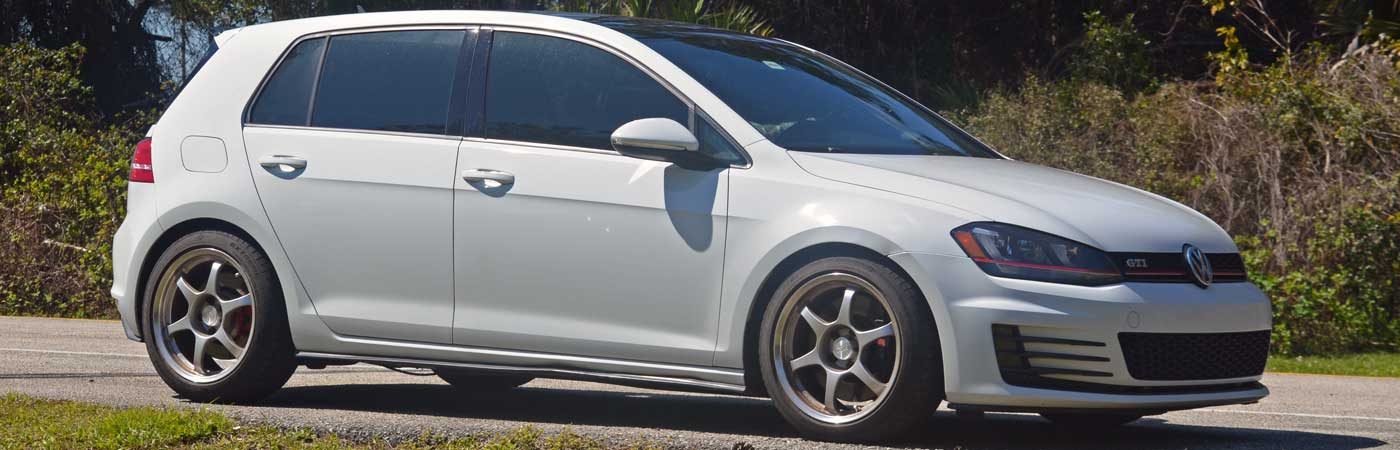
Background:
After receiving the CC Design turboback exhaust for my Mk7 GTI, I set about installing the exhaust.

Installation:
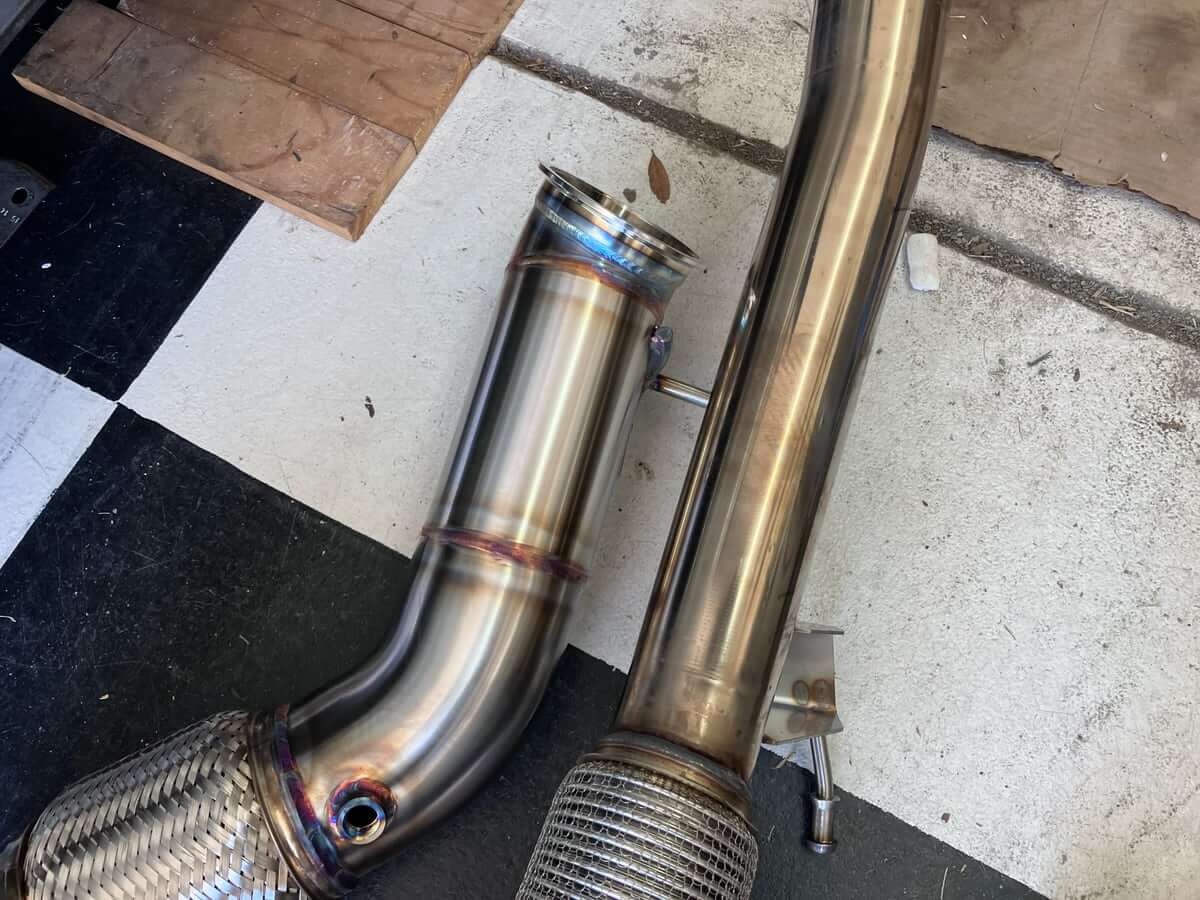
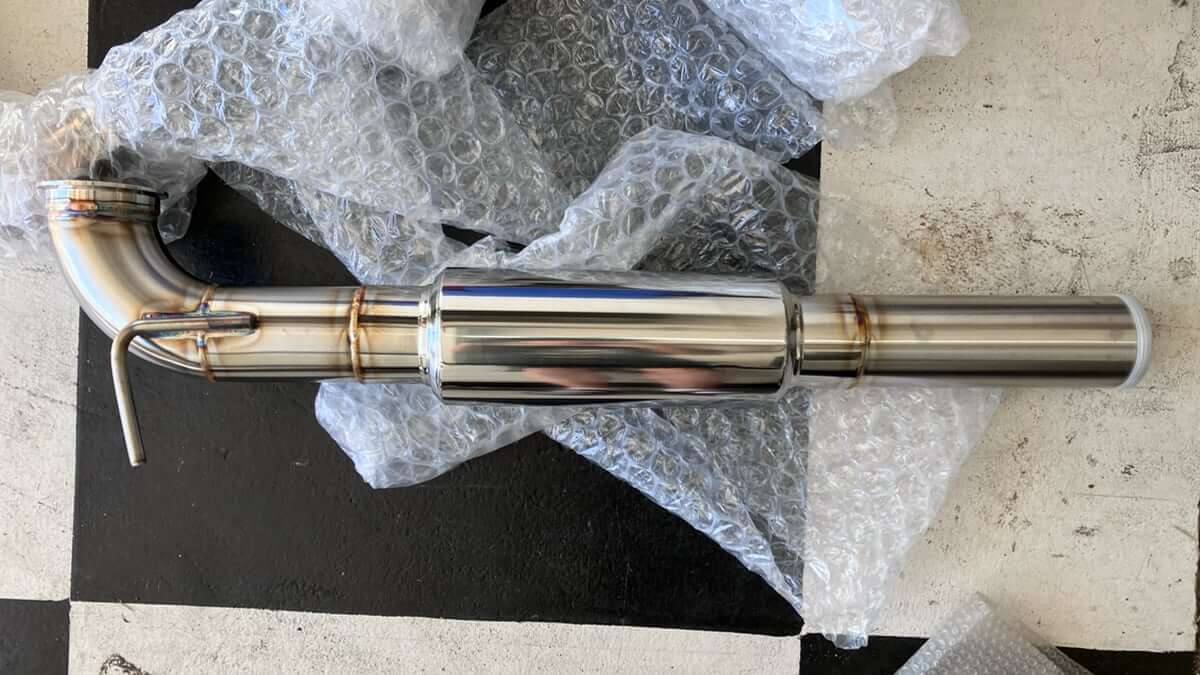
All the pieces were well protected with bubble wrap, and I removed the components as I worked through the installation.
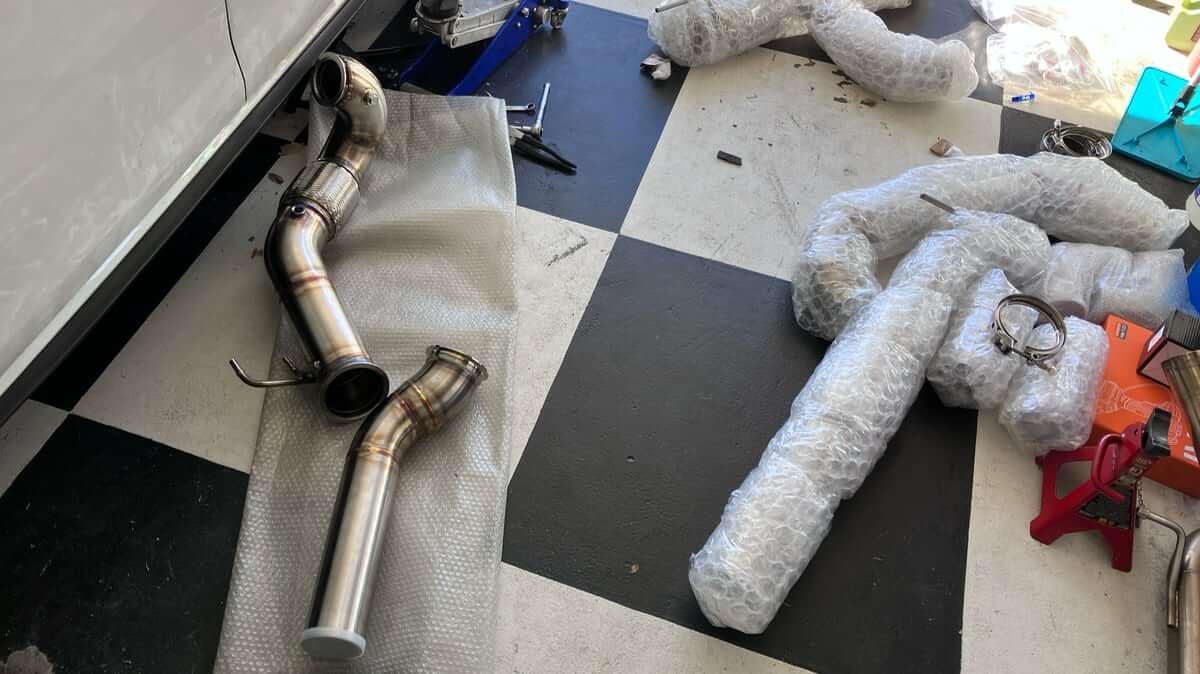
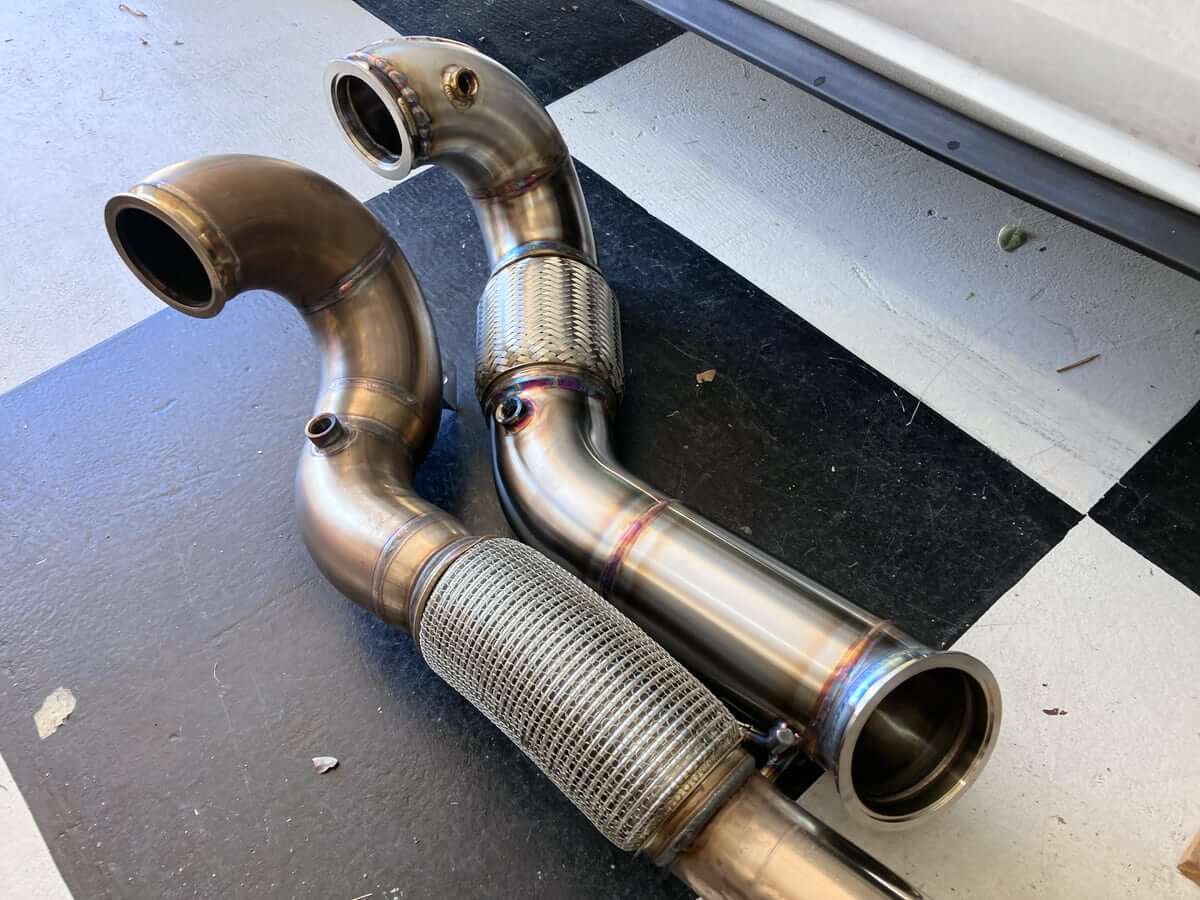
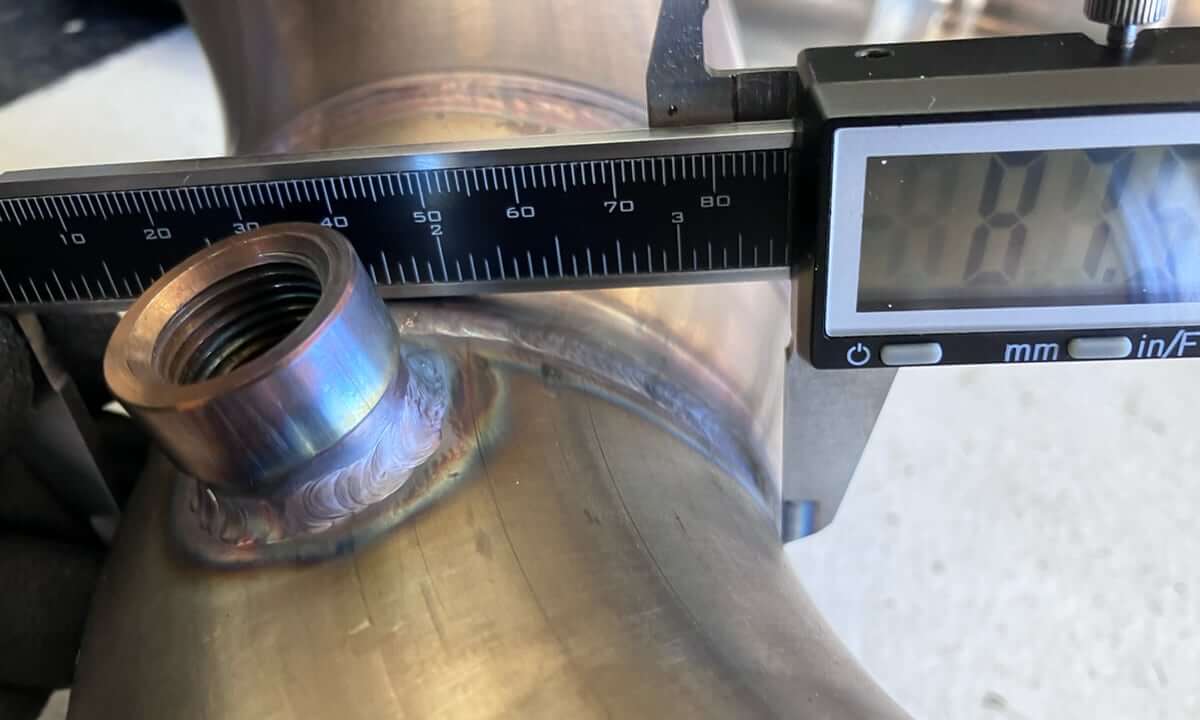
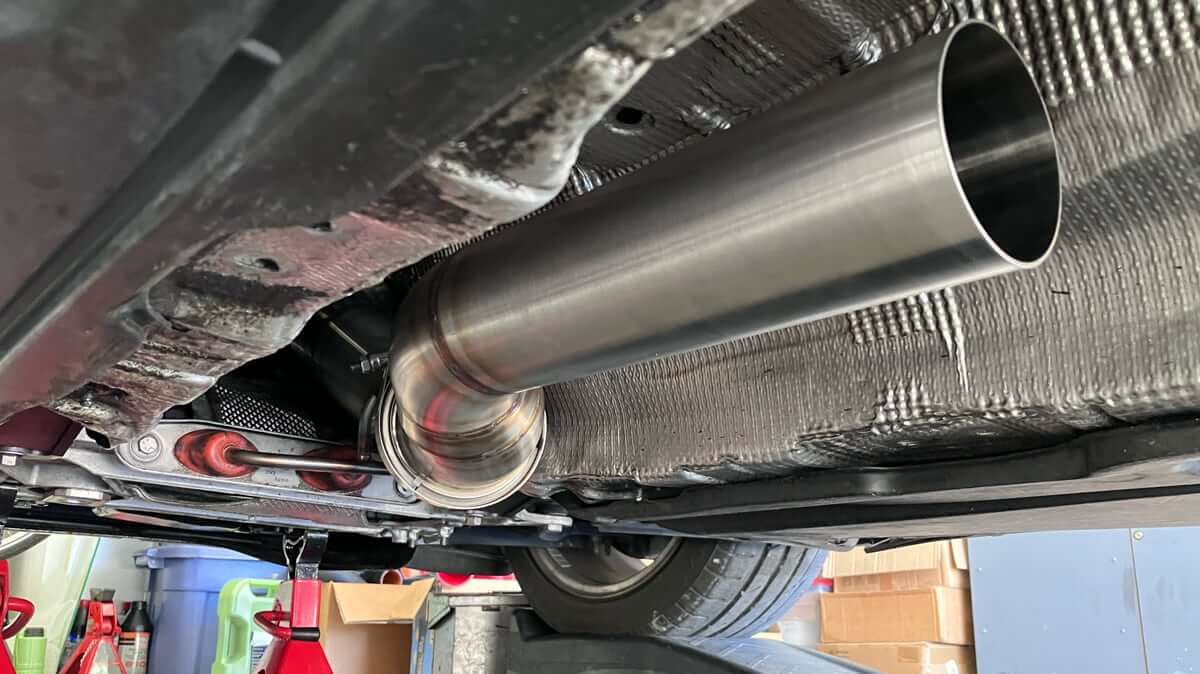
The first installed was the 4″ downpipe.
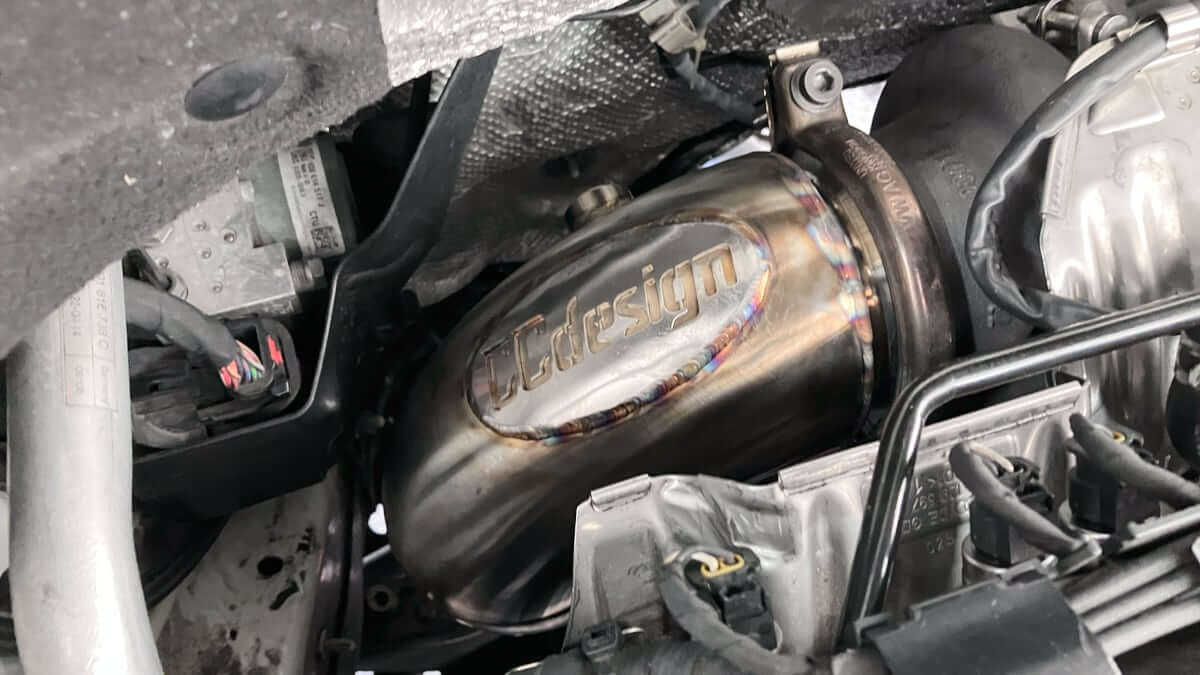
This replaced the Trackslag downpipe that I have been using.
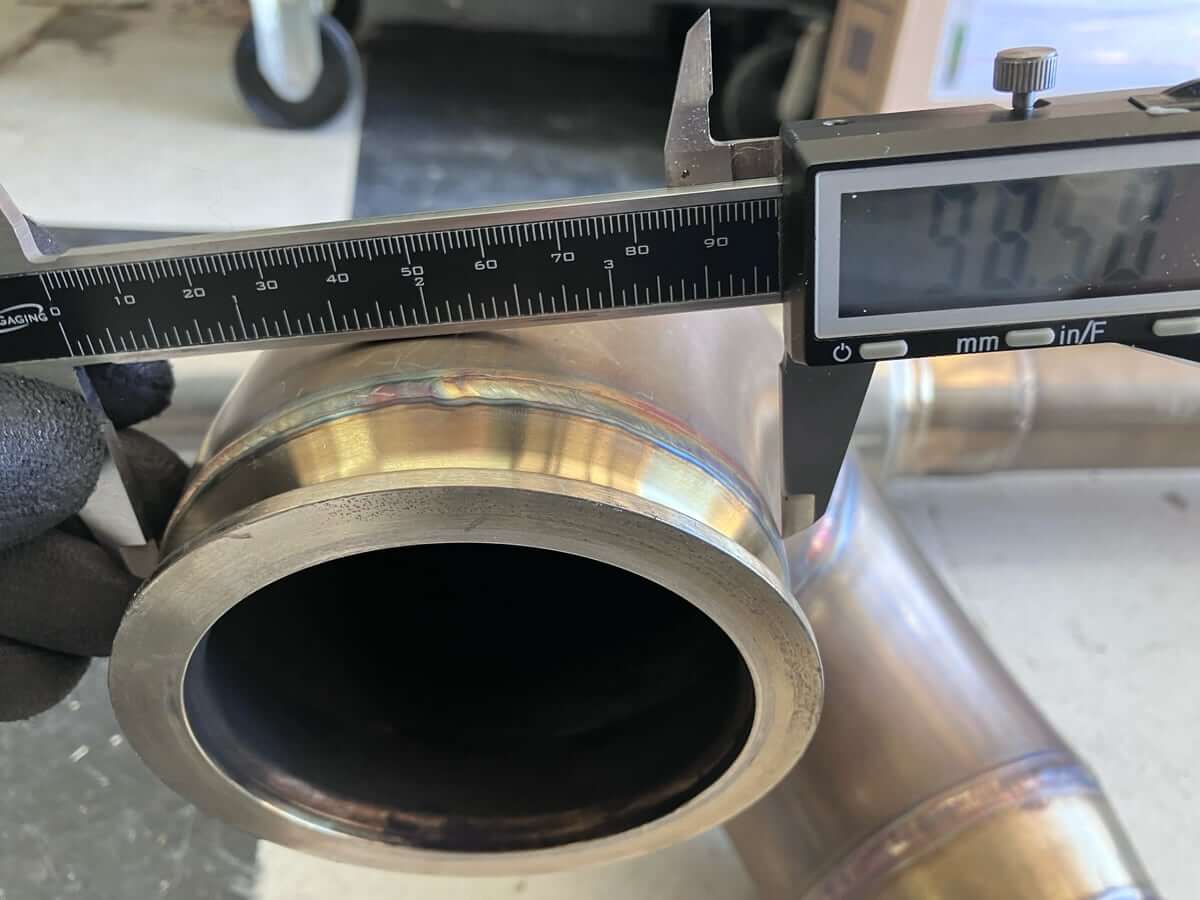
Trackslag Comparison:
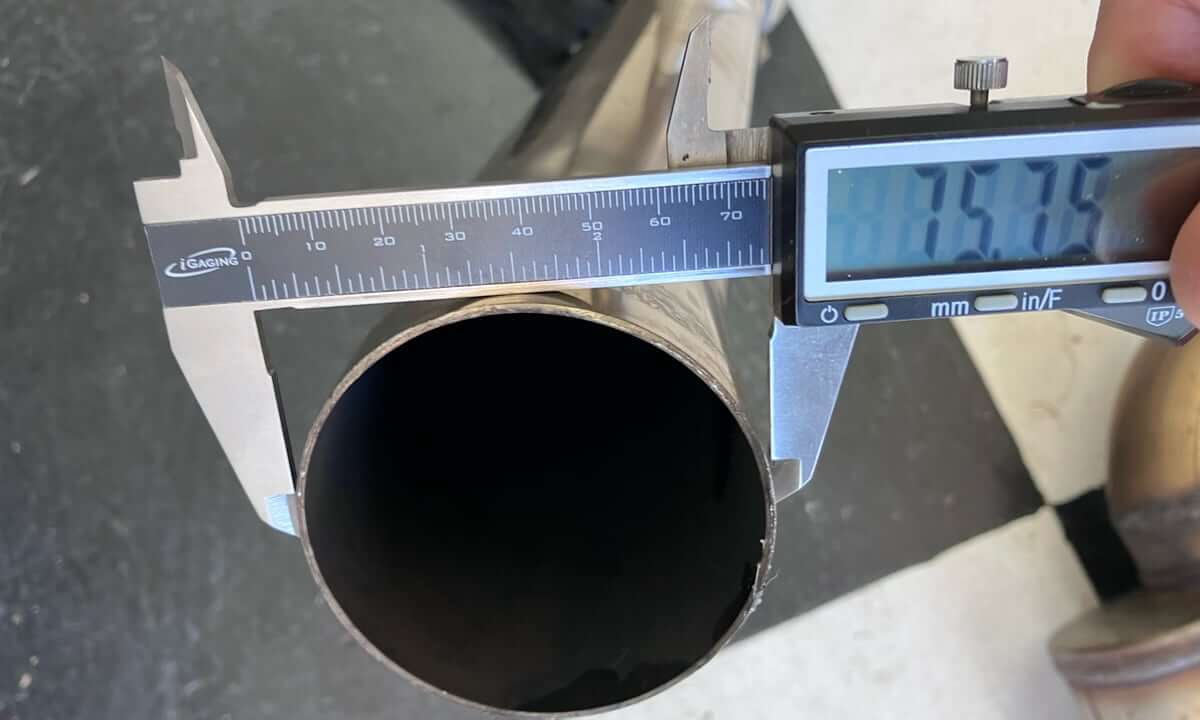
Note: While Trackslag advertises their downpipe as 4″, it is in fact a 3″ downpipe.
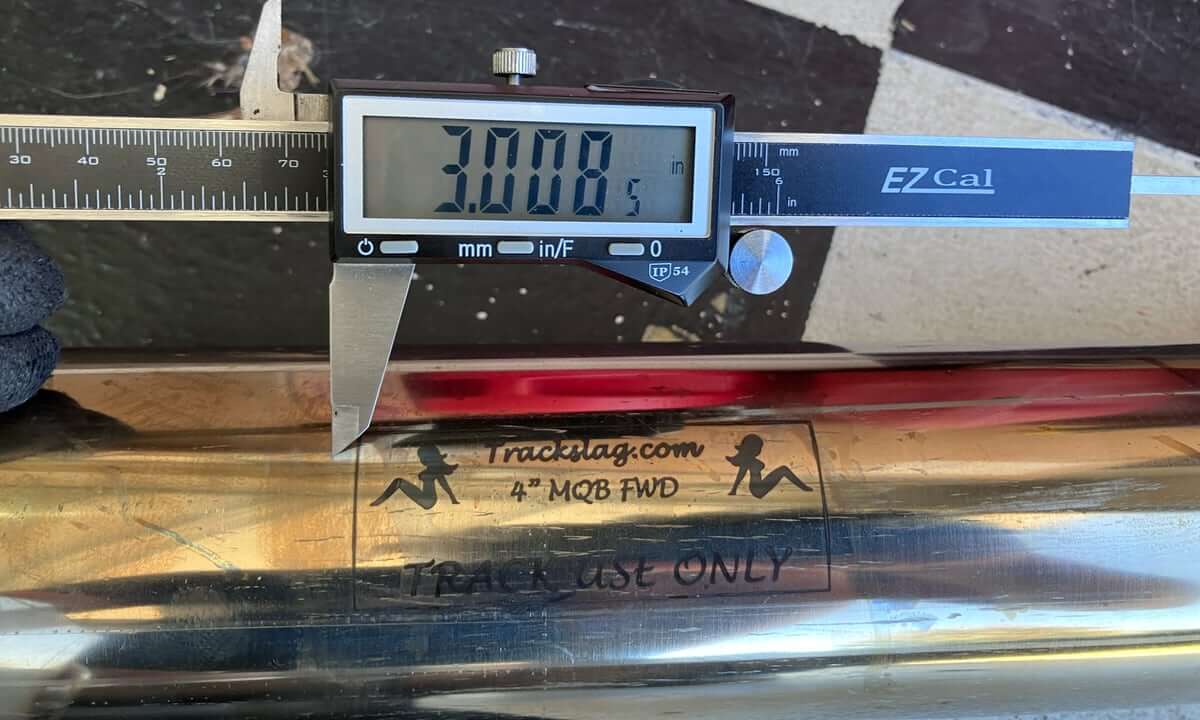
The following pictures compare the dimensions of the Trackslag and CC Design 4″ downpipes.
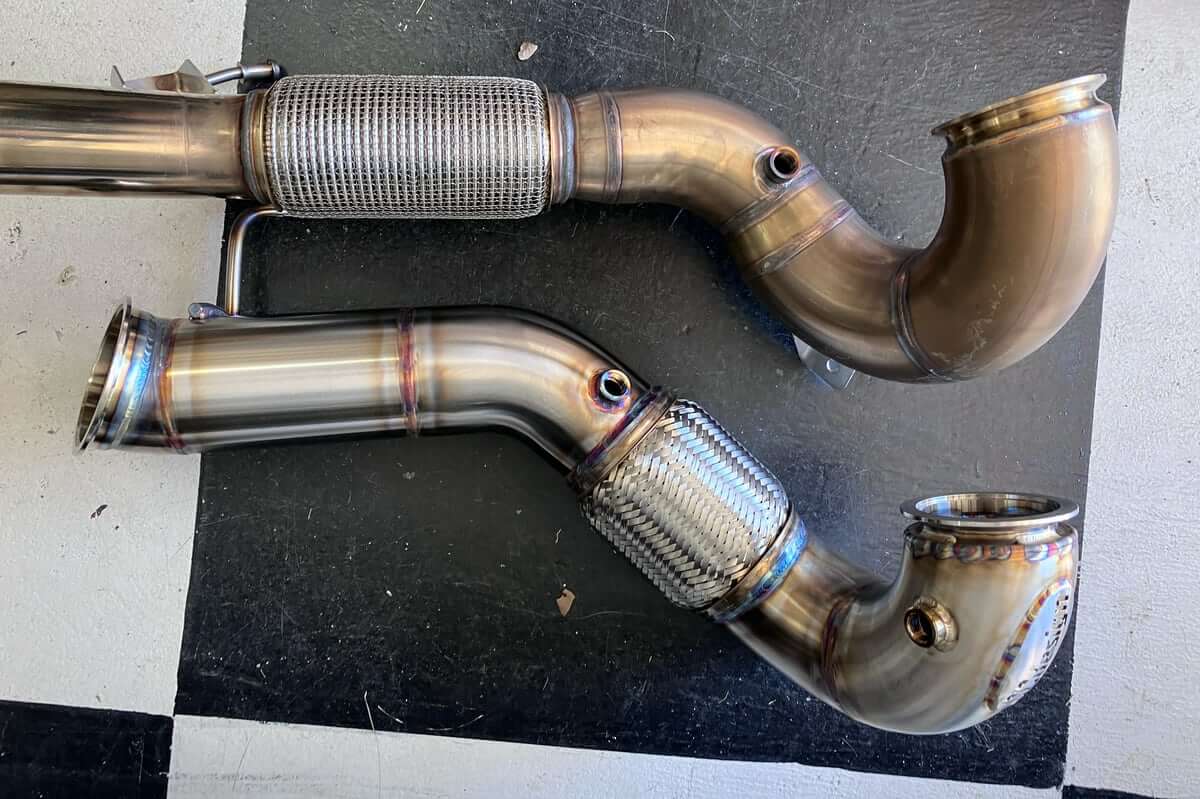
The Trackslag is 4″ at the inlet:
But after the initial turn of the pipe, it tapers to 3.5″:
It then tapers again down to 3″:
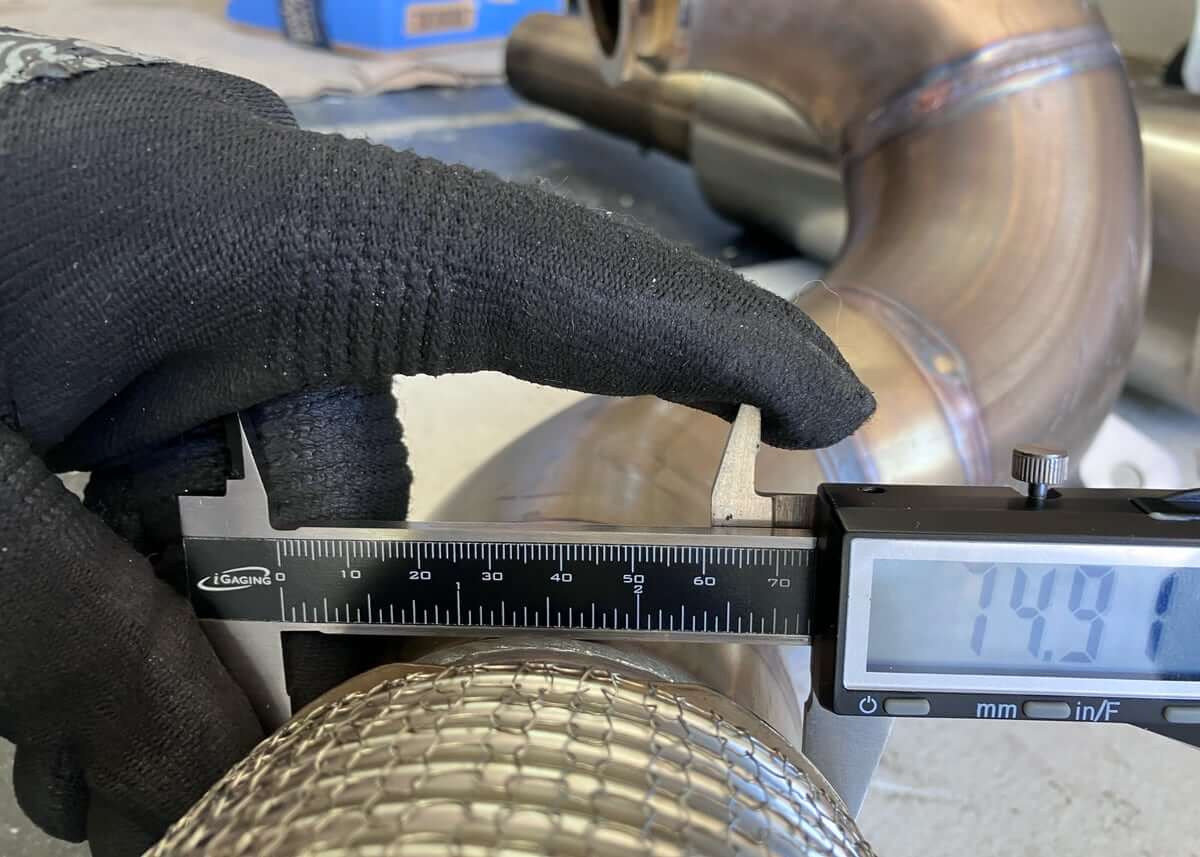
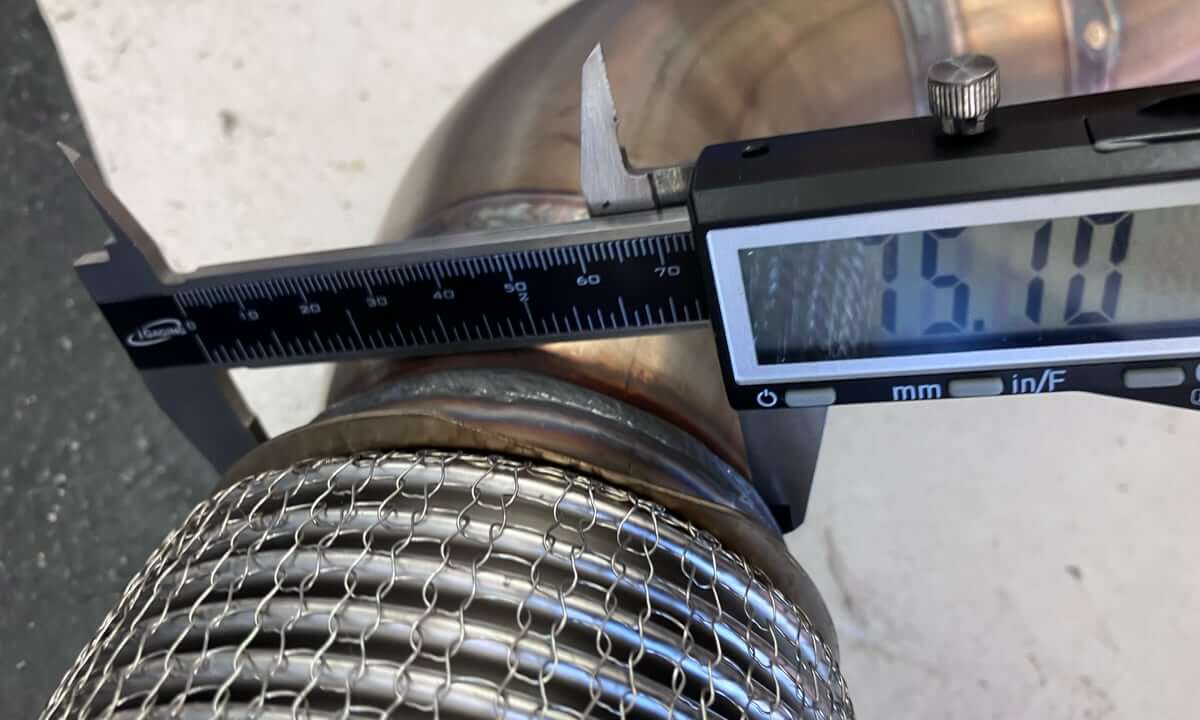
This 3″ is maintained through the outlet of the downpipe:
Midpipe Installation:
Next, the mid-pipe transition from 4″ to 3.5″ was installed.
The resonated mid pipe was installed.
Then the rest of the exhaust went on, and I set out to make a test drive.
Test Drive:
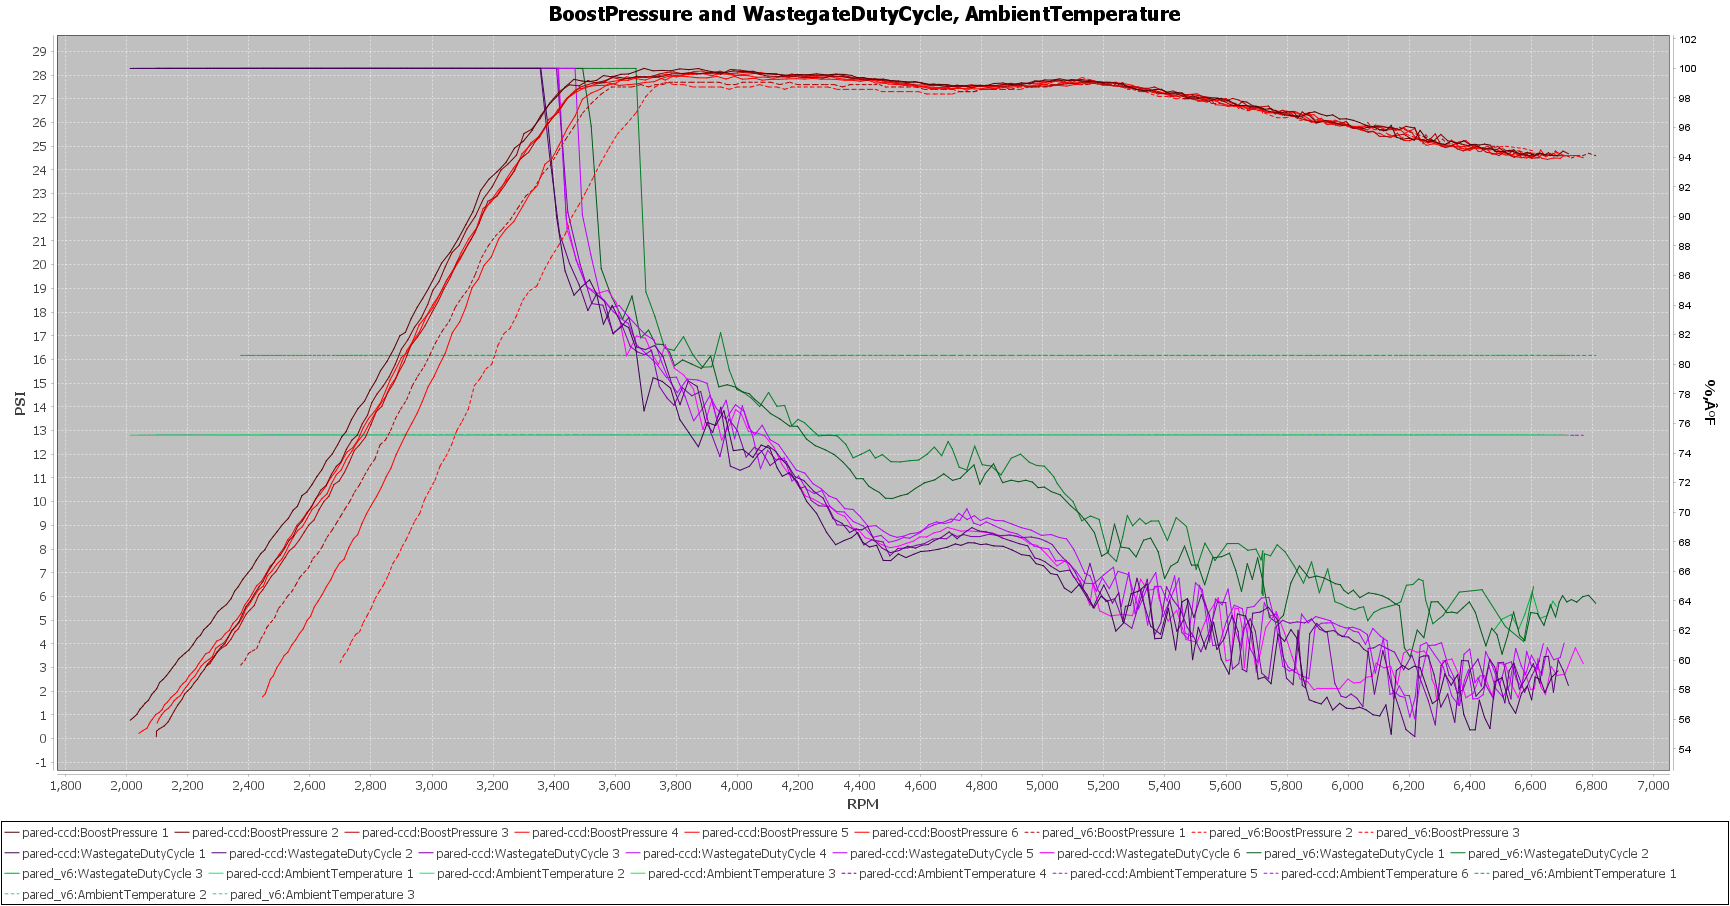
Although the outside air temperature differed between data collection sessions, it was close, with an approximate 5-degree Fahrenheit difference, favoring the CC Design session.
Of prime interest to me was the effect, if any, of the exhaust swap on the turbocharger wastegate duty cycle (wgdc). The CC Design shows a slight 4% decrease with the 28-PSI 93-octane tune.
Note: I’ve operated the Shuenk IS48 turbocharger around 30-PSI with an E50 tune.
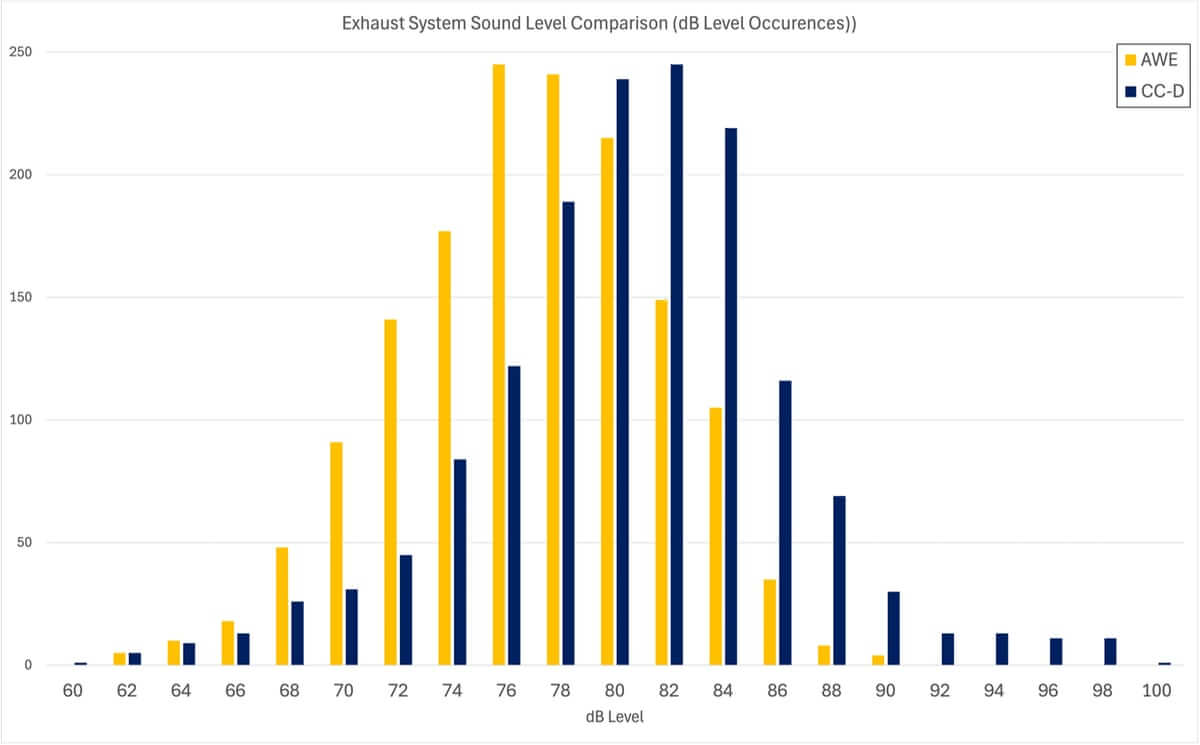
Keeping this exhaust liveable as a daily driver is a top priority, and I measured the sound level inside the cabin to compare with the previous setup. The CC Design exhaust was subjectively louder, and the logs confirmed this.
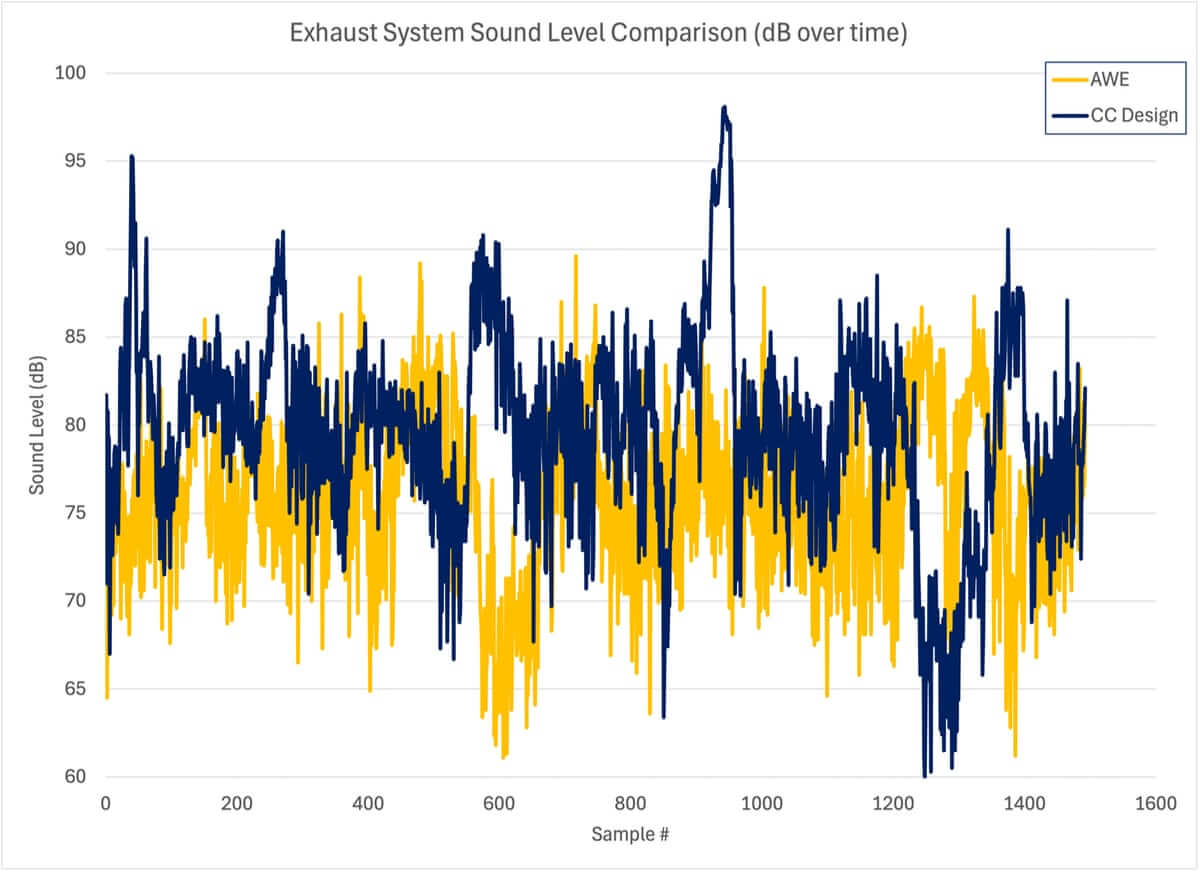
Summarizing the data levels as a histogram shows a shift toward higher Sound Levels with the CC Design exhaust.
Adjustment:
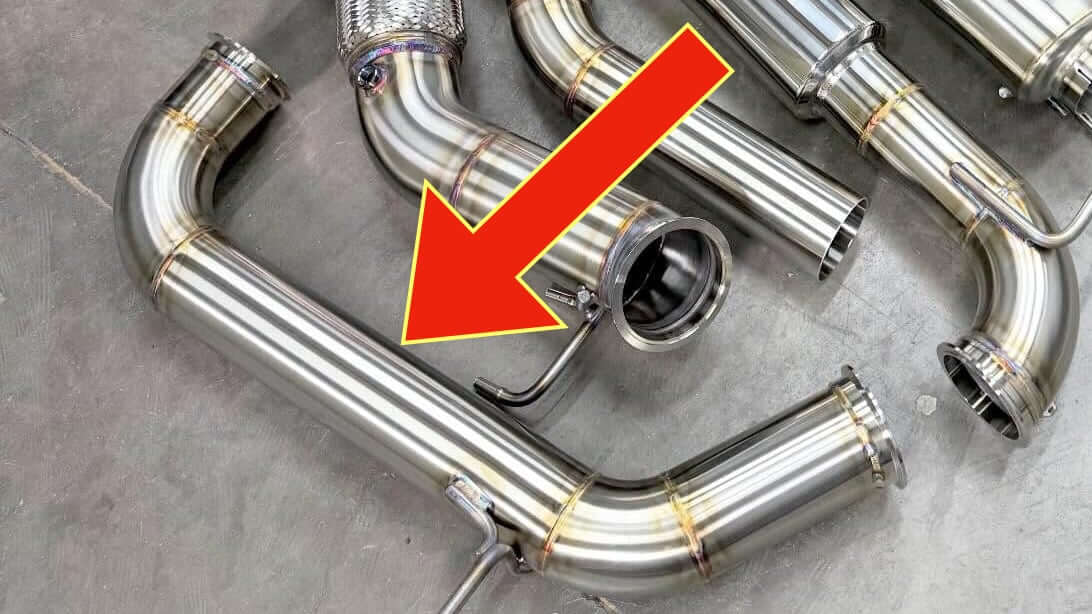
The test drive demonstrated that the pair of small mufflers just before the exhaust tips wasn’t up to the task of adequately quieting the car.
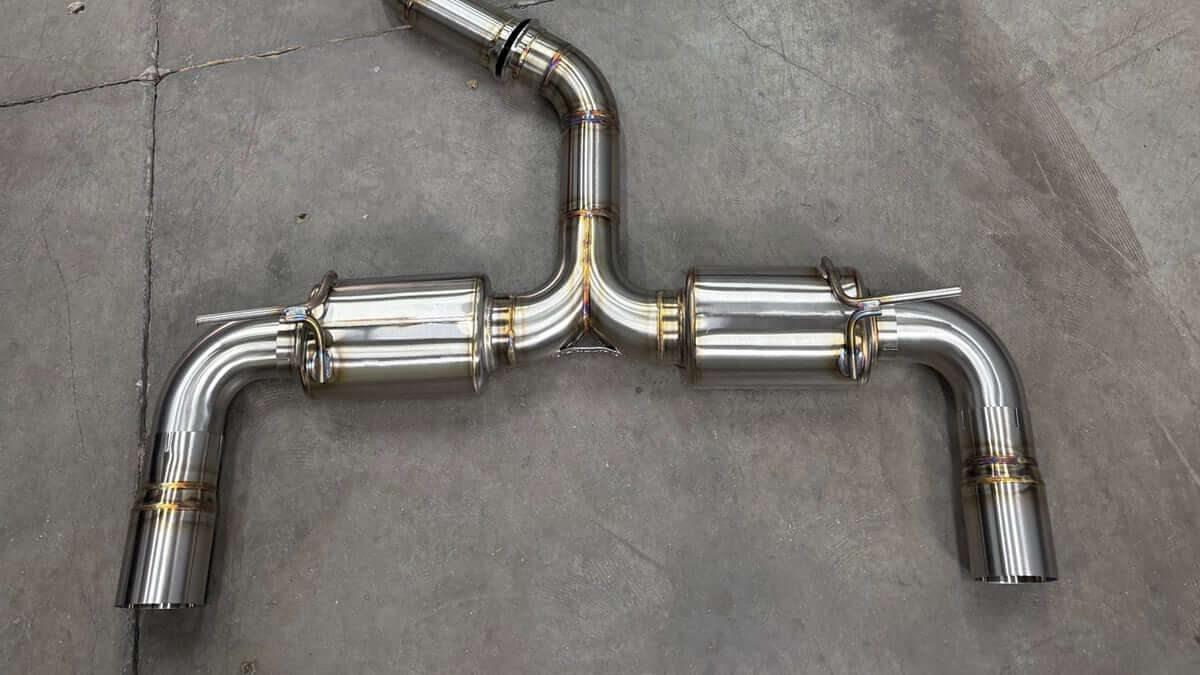
I discussed with CC Design options for reducing the exhaust volume, and we settled on modifying one of the mid-pipes (shown below) by adding another muffler.
This addition would make the CC Design exhaust similar to the AWE Tuning setup that I previously used (shown below). The AWE exhaust has a Magnaflow muffler in the location where CC Design will add a muffler.

Once the muffler is added, I will take another test drive with the CC Design exhaust.