Background:
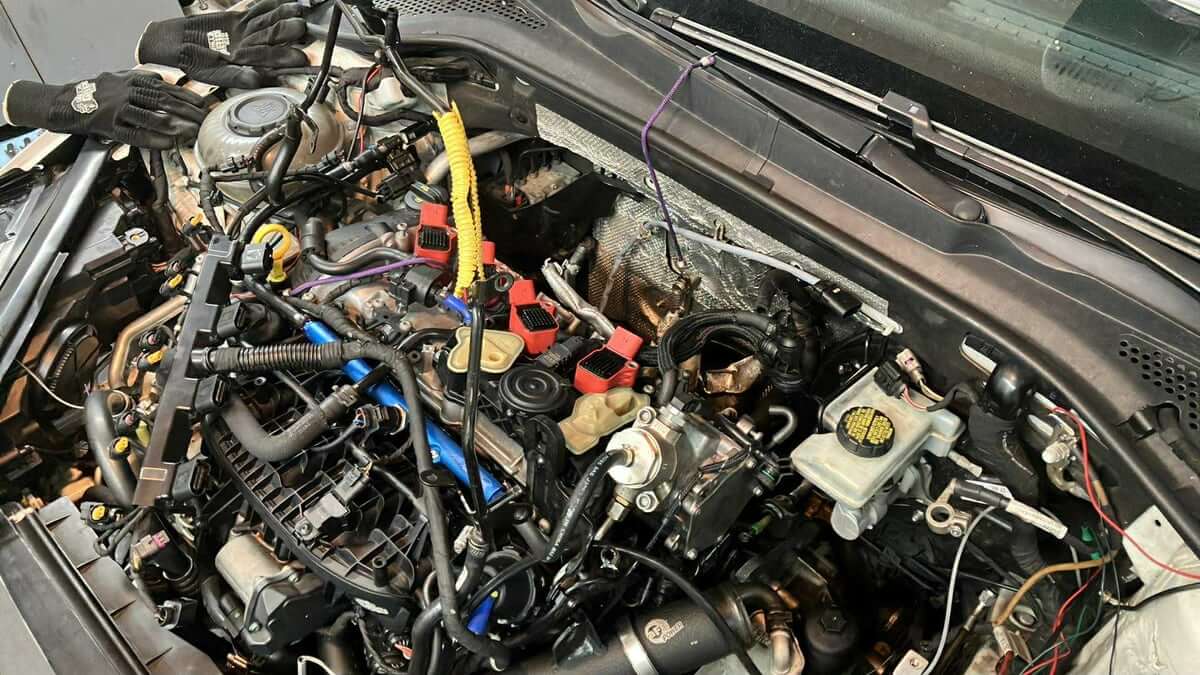
With the Shuenk IS48 super core delivered and after confirming I had all the new O-rings needed for installing the turbo, I began making the swap.
Summary:
Work began by removing the Lader LM440 IS20.
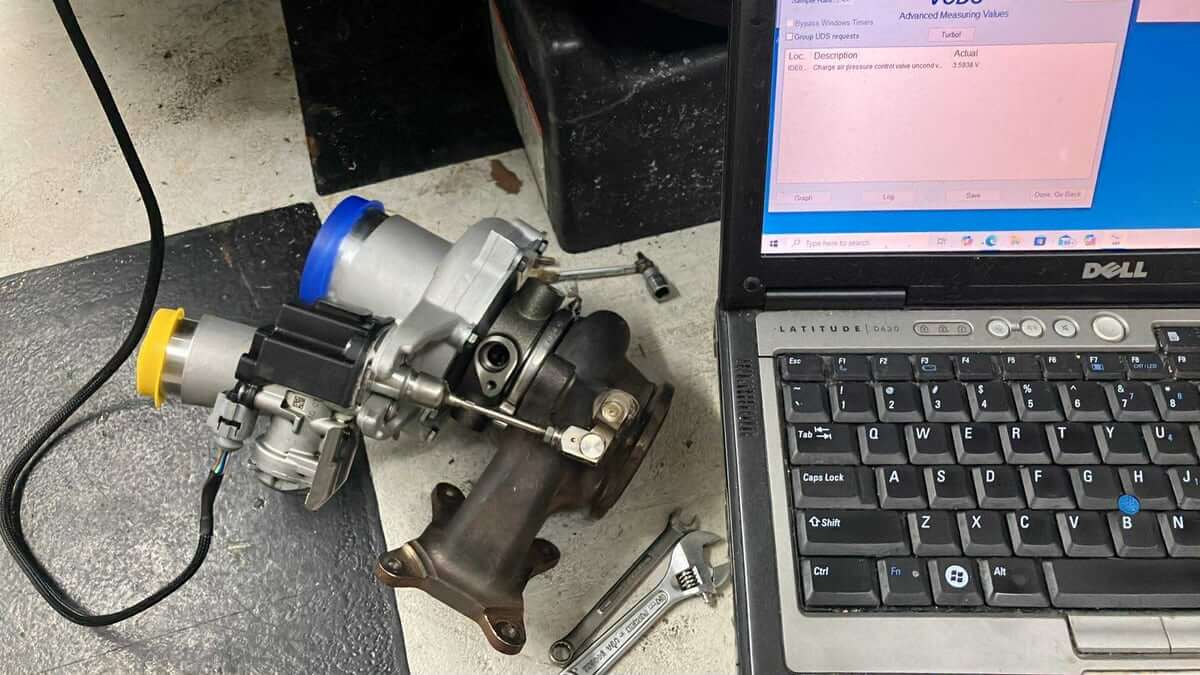
Before installing the IS48, the wastegate actuator was calibrated.
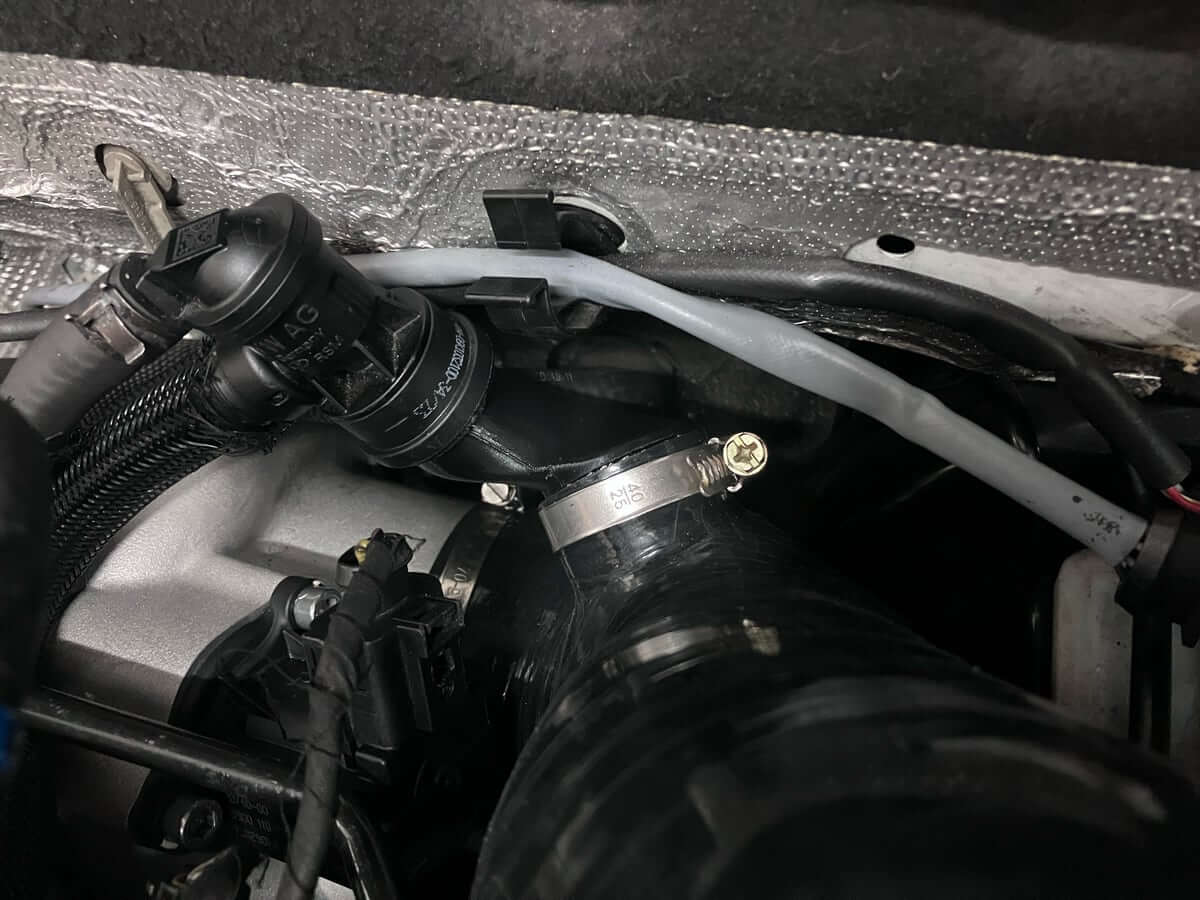
I then installed the turbocharger to verify that the oil and coolant lines would attach and to confirm the position of the compressor outlet.

While attaching the lines to the turbo, I noticed the oil line passes very close to the compressor housing. Since the IS48 is larger than a stock turbo, this isn’t surprising, but it is something to account for.
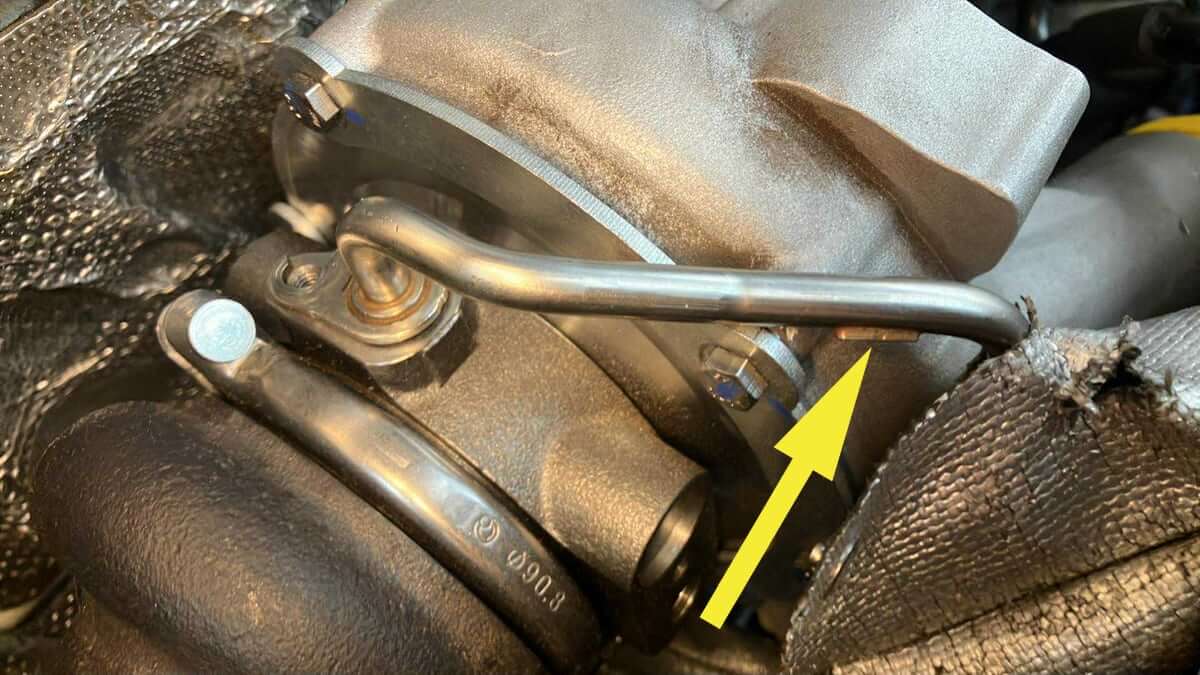
I have previously cut off the tab that attaches the oil line to the compressor housing, which may help to avoid contact. Since the tab isn’t there, I’m unsure if it would be an issue if it were not removed.
Another thing to check here is the clocking of the compressor housing, since the bolt holding the housing in place is near the oil line.
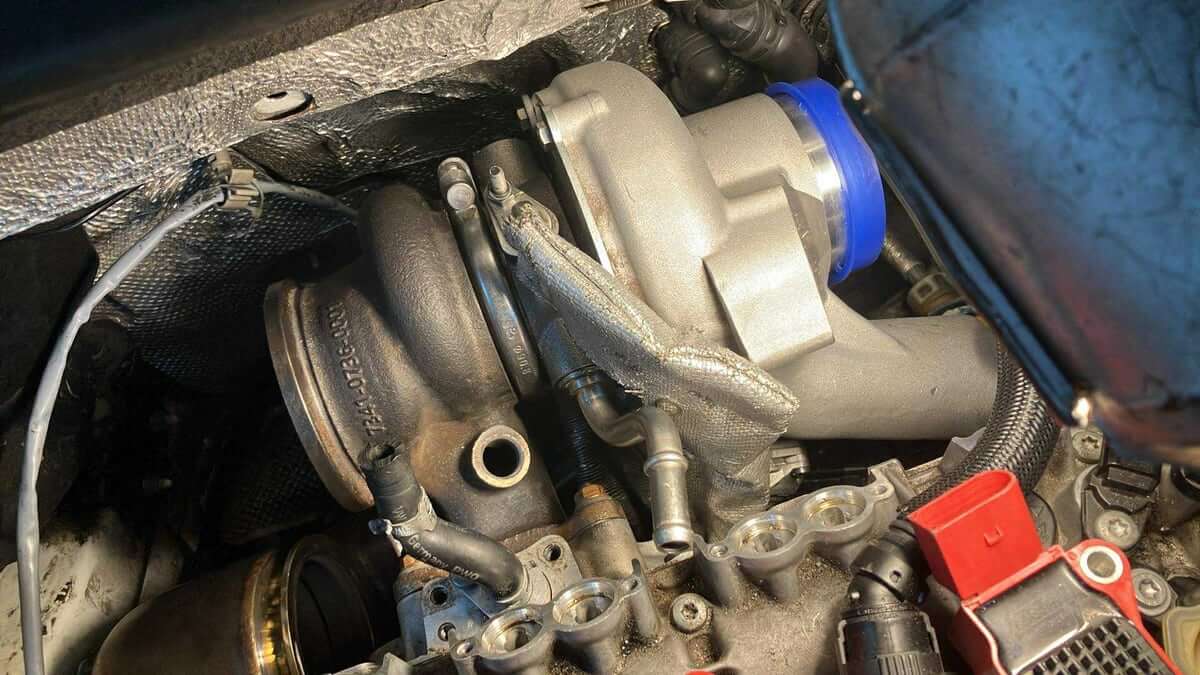
The oil line was attached without coming into contact with the compressor housing.
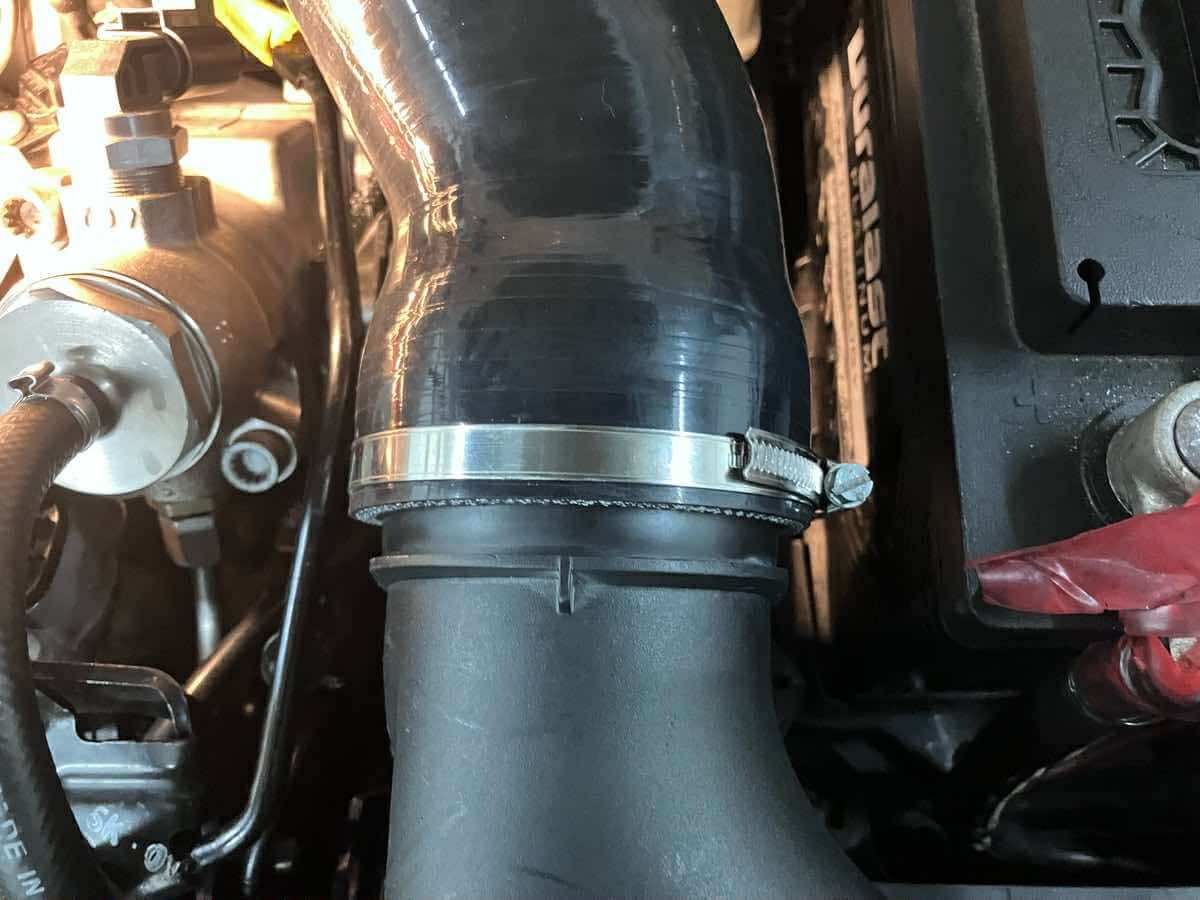
The outlet from the turbo involved a detour from the original plan. I have the do88 silicone hose for fitting the turbo to the OEM charge pipe, but I wanted to use the aFe Power charge pipe to retain the Mk8 PCV suction jet pump.
I cobbled together two silicone hoses with a Fuel-It billet adapter that substitutes for the 034 Motorsport turbo mufflers’ NPT ports.
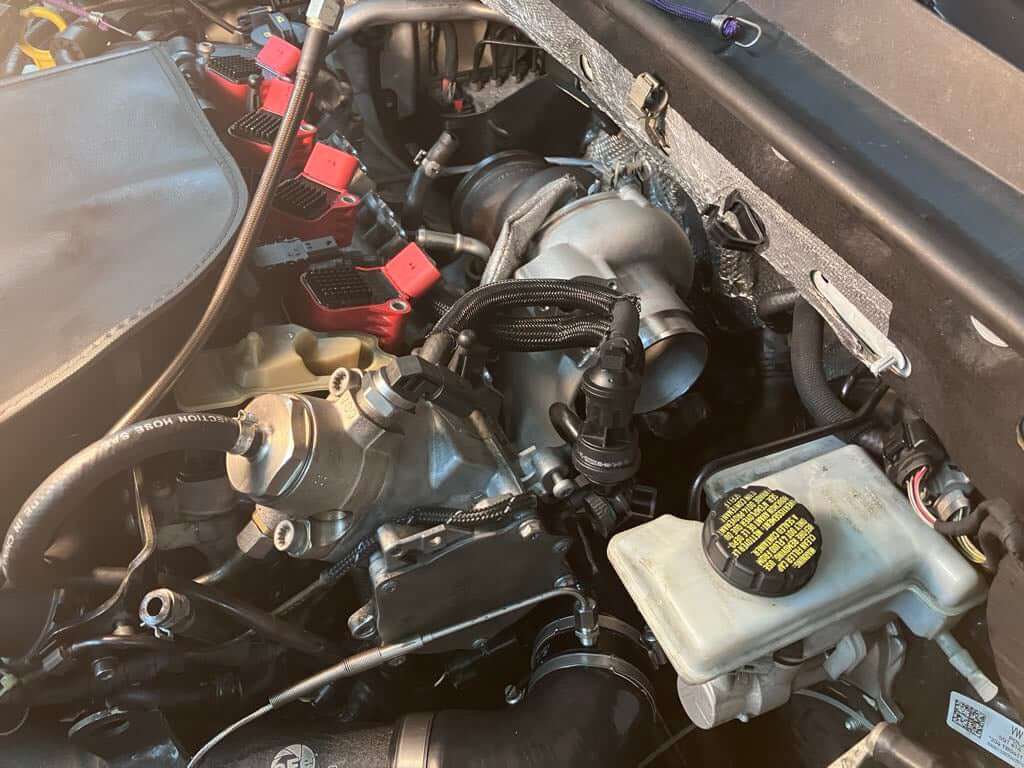
Next, I made a fitment check using the stock airbox.
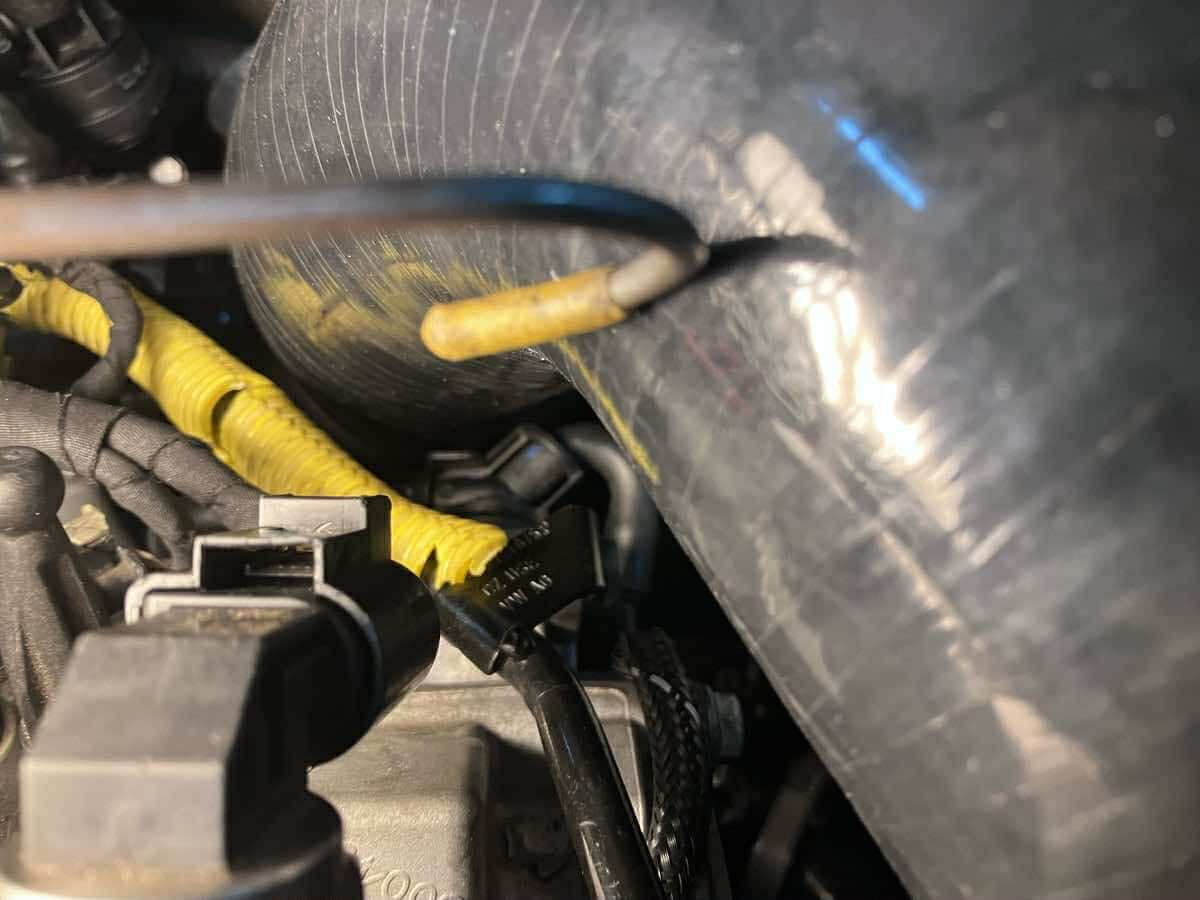
The inlet hose passes very close to the vacuum fitting on the rear side of the engine.
To address this, I shifted the position of the hose on the stock airbox by approximately 8mm.
This created a larger opening between the parts.
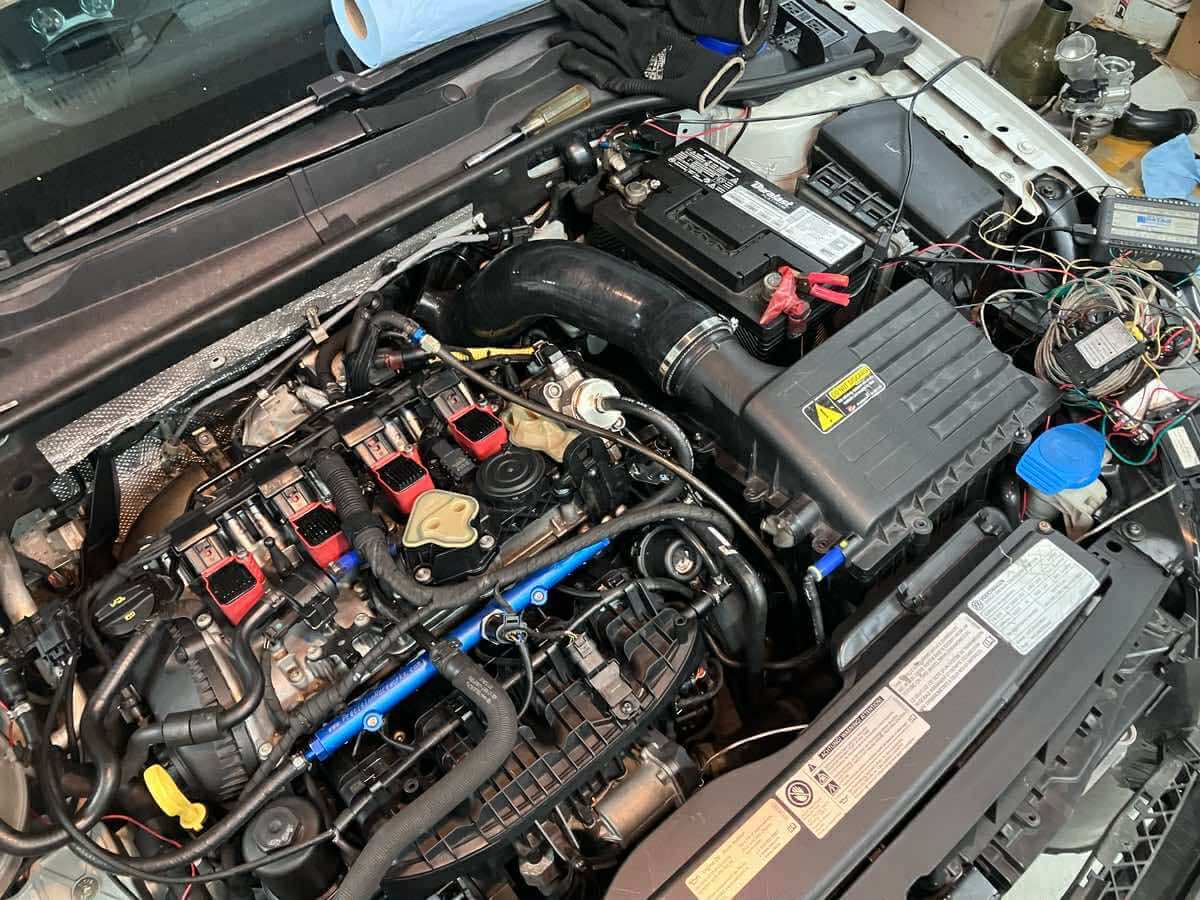
Mk8 PCV Hose:
Finally, since I want to retain the Mk8 PCV, and the attachment on the silicone hose is about 90 degrees out from the stock TIP, I made an adapter for connecting the PCV line to the inlet hose.
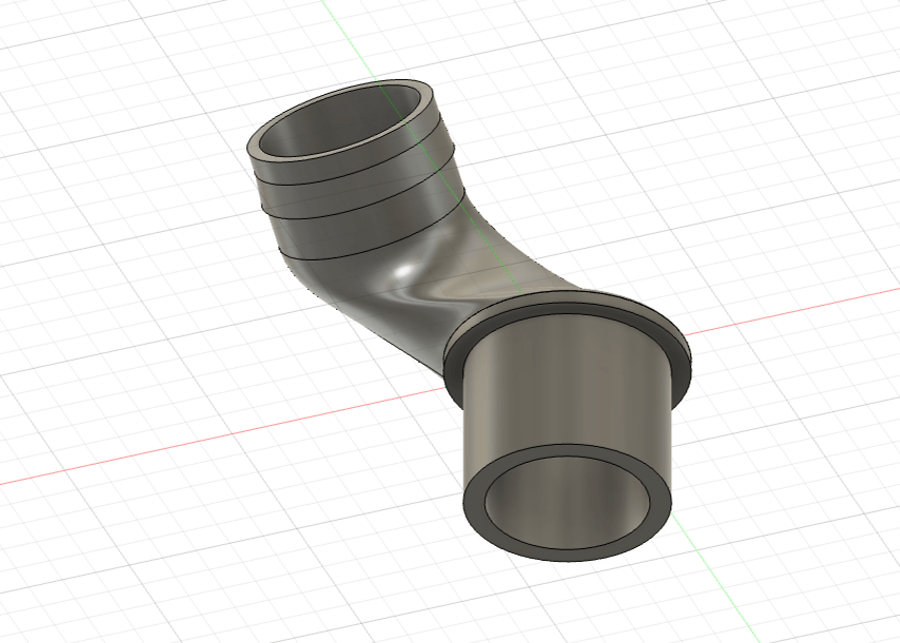
The adapter allows the PCV hose to attach without stress being applied to it from twisting.
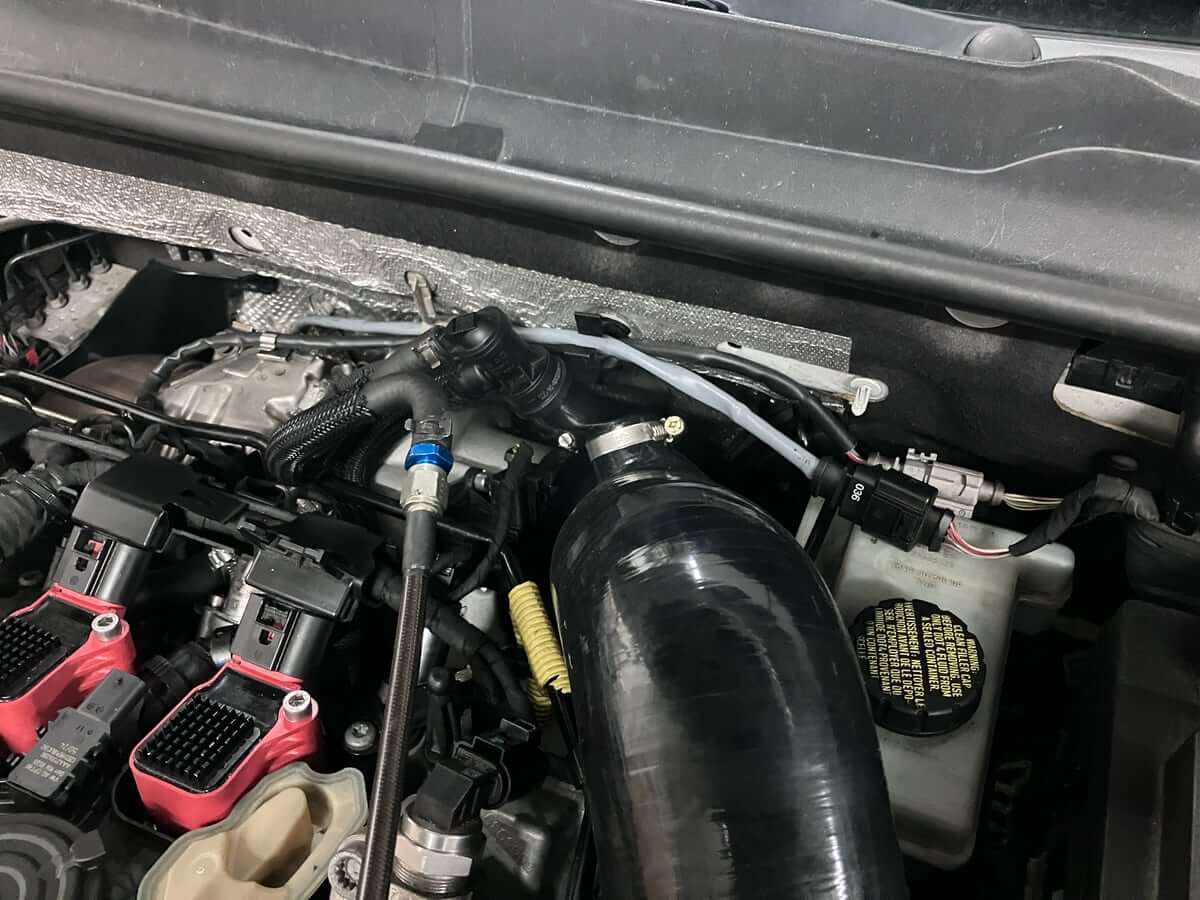
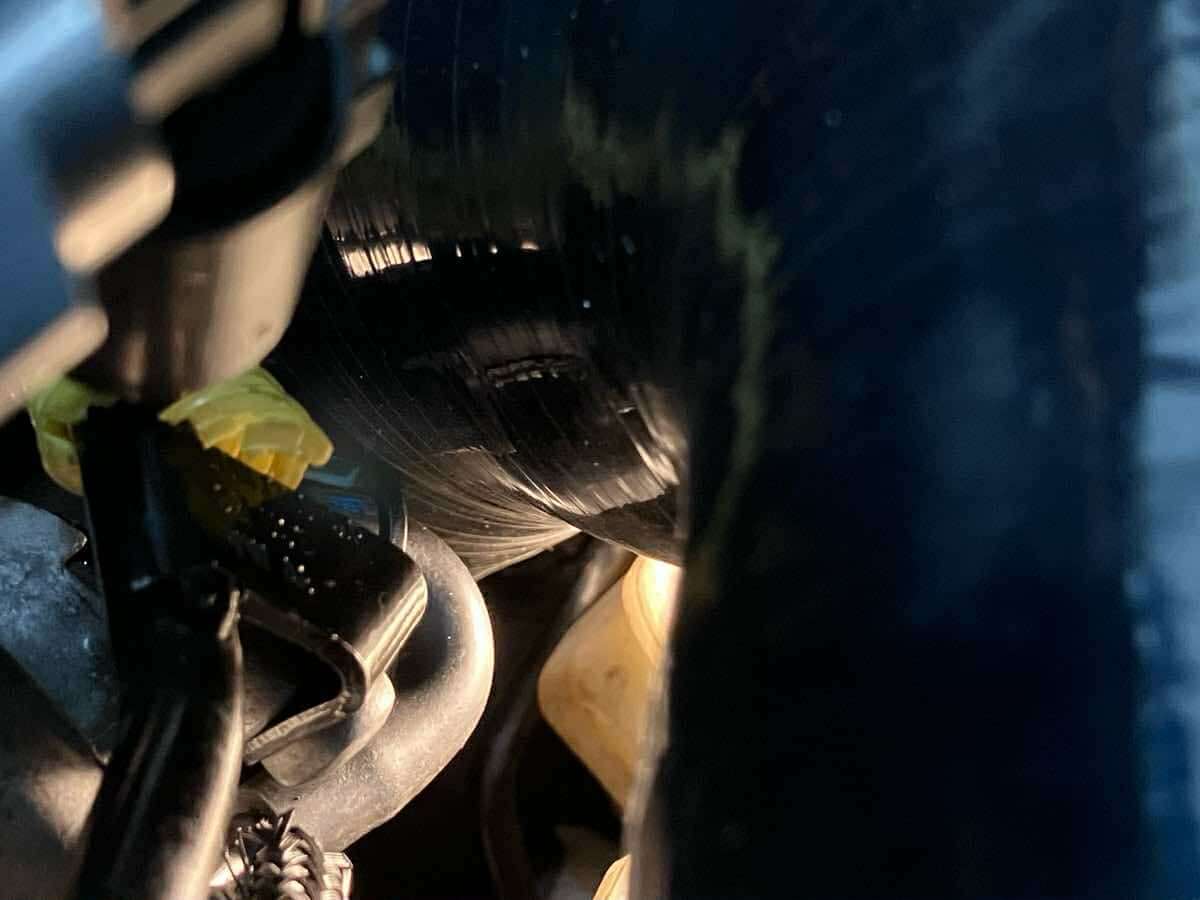
Closer up:
Next:
Flashing an appropriate tune and taking a test drive are the next steps.