
Background:
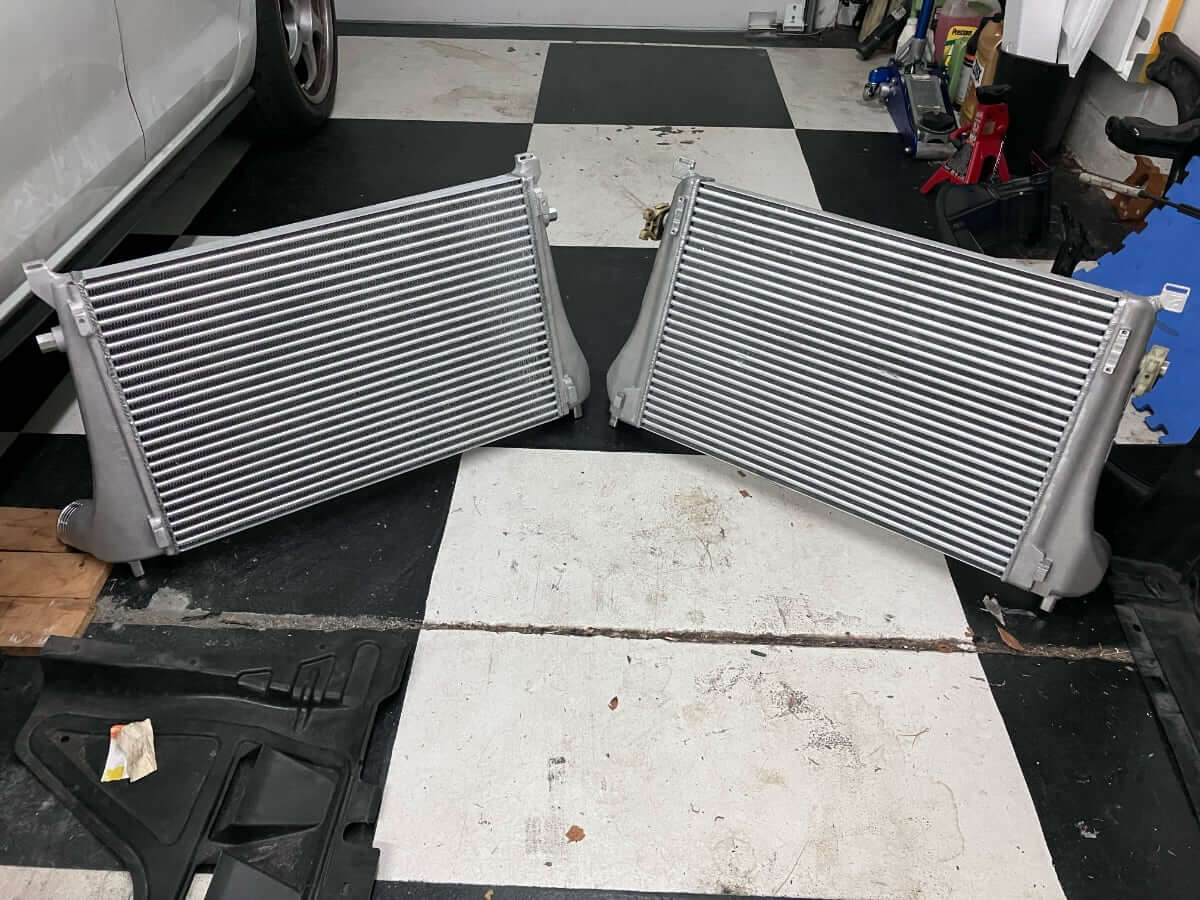
Recently, I conducted a flow test with the Majesty Competition intercooler, and now I have moved on to installing this stock-location Tube-and-Fin intercooler on the Mk7 GTI, replacing the AMS Performance intercooler in a bicooler configuration.
Replacement:
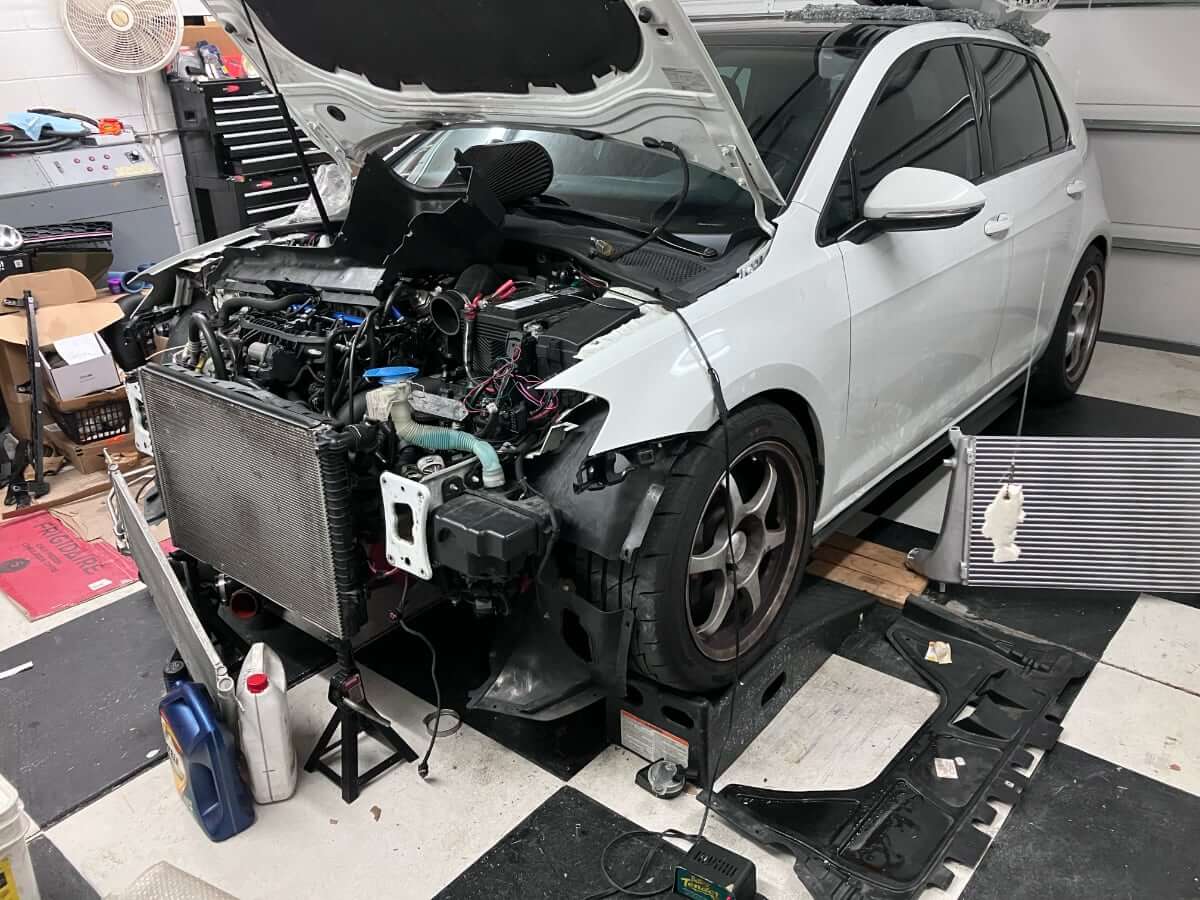
My process for swapping the stock location intercooler entails removing the crash bar and other parts at the front of the car.
The Majesty Competition intercooler was surprisingly easy to install. A few years ago, I installed the Majesty Bar and Plate stock location intercooler, which required some work with a hand file in several areas; not so with this Competition Tube and Fin IC.
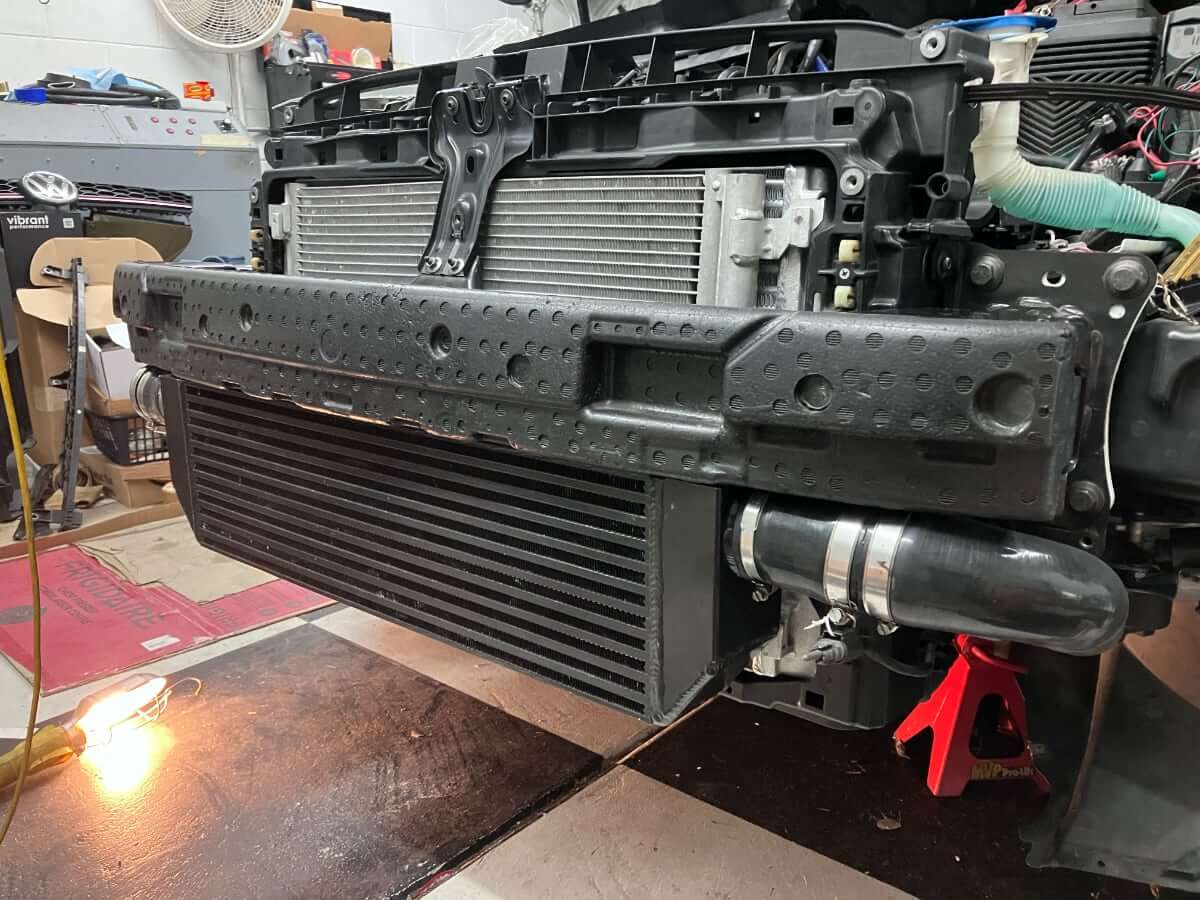
The radiator slipped into place along the back of the intercooler without any difficulty.
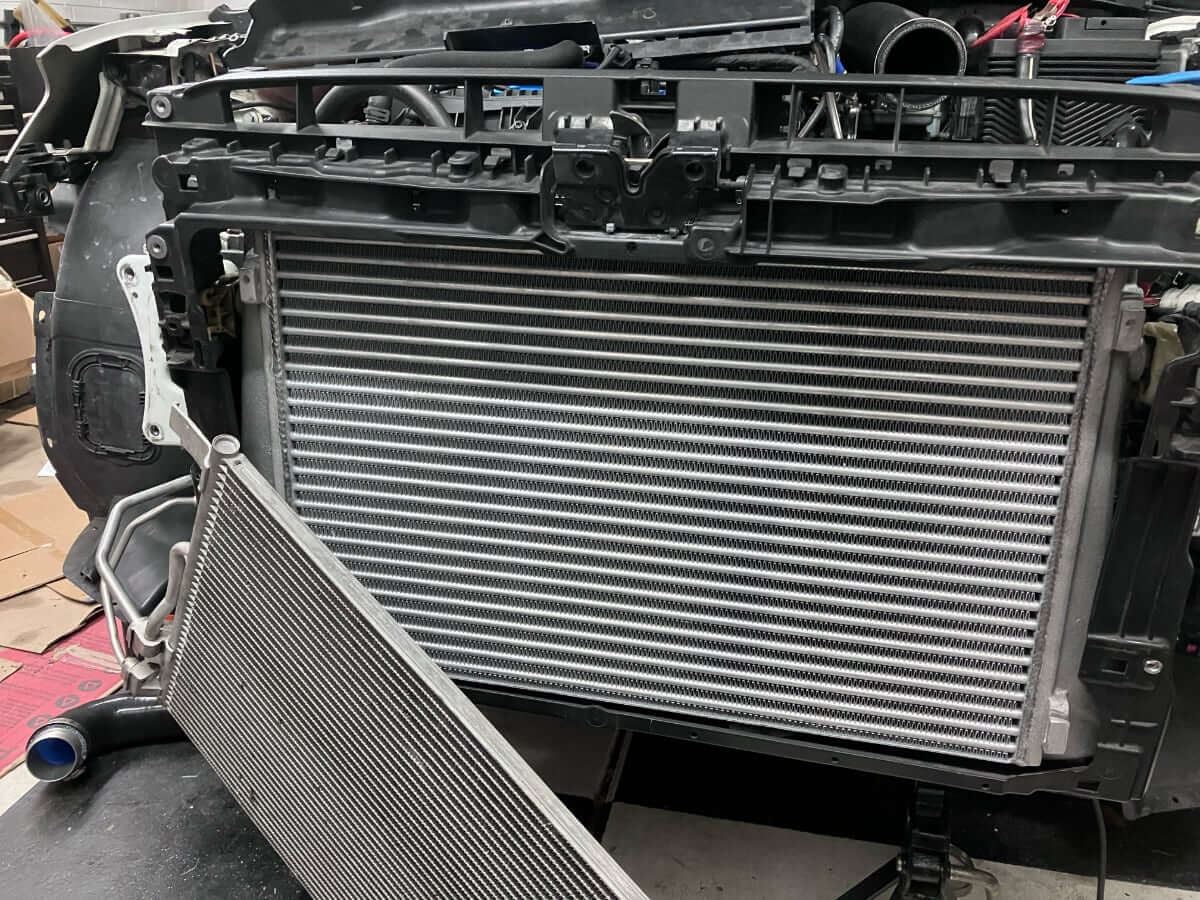
One side of the radiator slid into place on the upper end of the IC with no resistance, which isn’t a sign that the radiator will stay in place long term, so I ran a zip tie under the radiator tab to push it upward so it stays in place.
At this point, I have probably swapped about 30 intercoolers onto this radiator, so the absence of a solid lock in place may be a sign of the tab wearing down rather than a fitment issue with the intercooler.

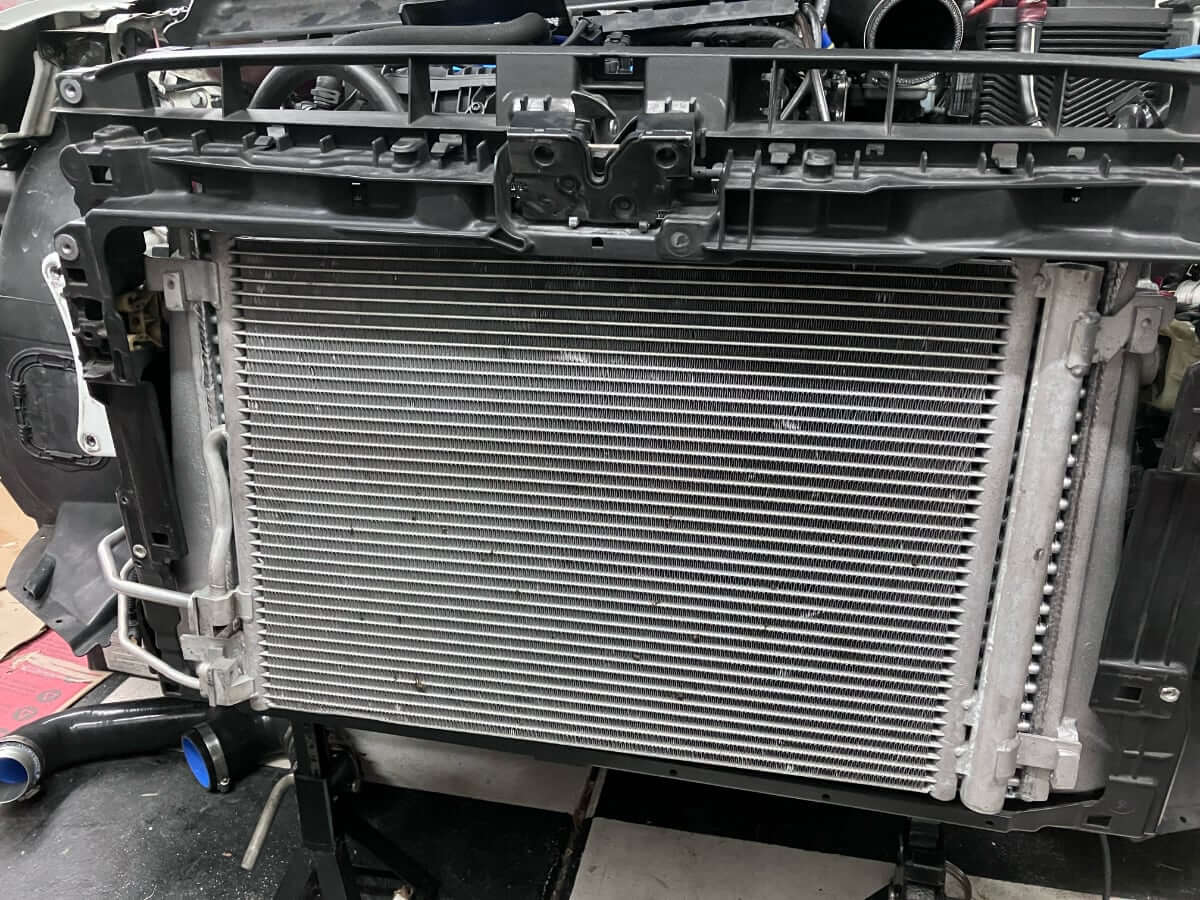
I repeated the same process on the opposite side, something I do as a standard procedure as long as there is enough space for the zip tie to fit beneath the radiator tab.

The air conditioner condenser slid into place without any issue, a real surprise given the number of intercoolers that I have installed where the condenser does not go into place without some coaxing.
For the time being, I have higher priorities for the GTI than evaluating the stand-alone performance of the Majesty Competition IC, so I am using a bicooler setup, which I believe has compelling evidence of superiority to a standalone stock-mount IC or a front-mount IC (FMIC) on the Mk7.
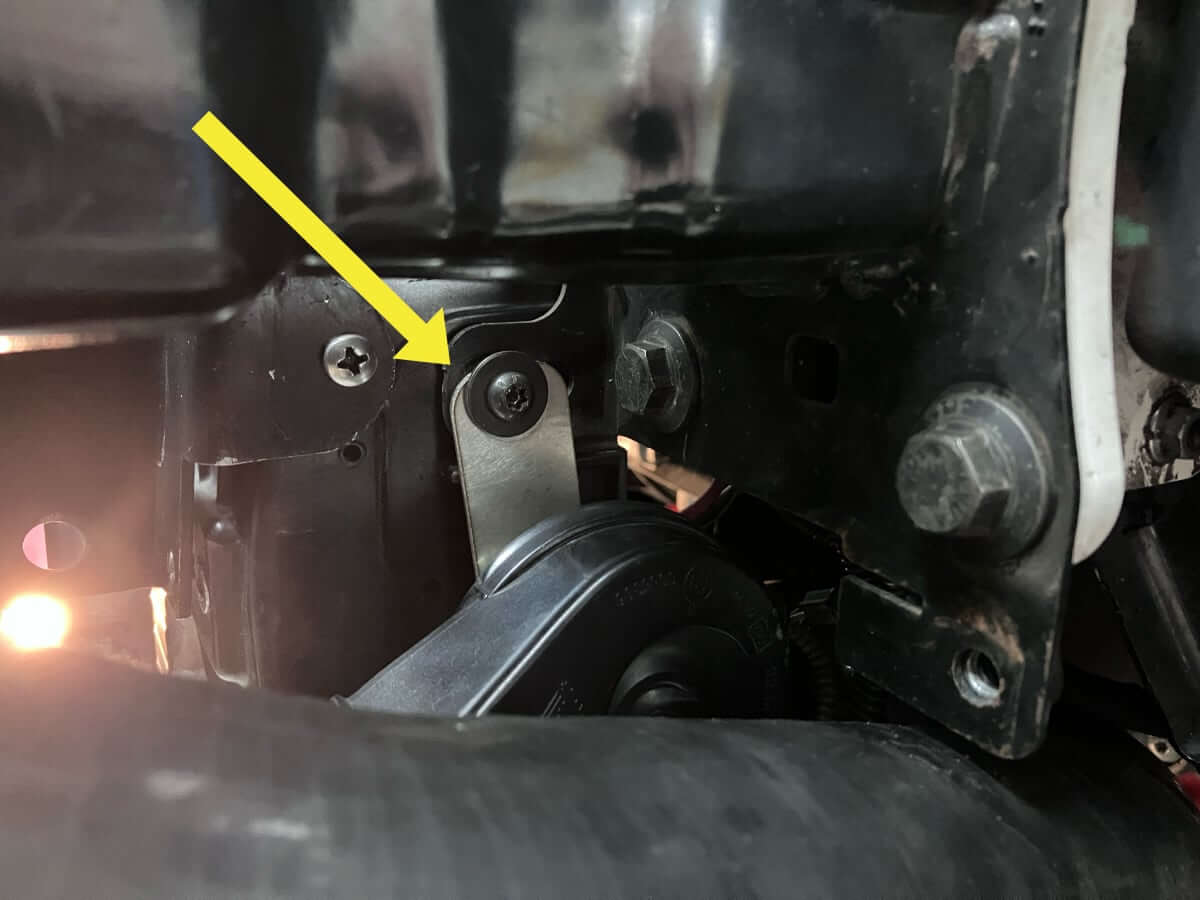
The bicooler hose forces a relocation of the horns, something I had previously done, but with this swap I trimmed the IC hoses at the FMIC end, which forced another move of the driver’s side horn.
As shown below, I have relocated the horn to be alongside the radiator support, using the lower bolt that holds the support to the crash bar.
This gives enough clearance to the horn and allows it to be pointed forward.
Another tight point is with the SAI Pump. For this, I loosened the bolts on the pump bracket so it could be rotated backward, then rotated the forward bracket that the pump was secured to upward and bolted it in place, providing lateral and vertical support to hold the pump from moving.

The final step in the intercooler swap was reinstalling the Majesty FMIC.
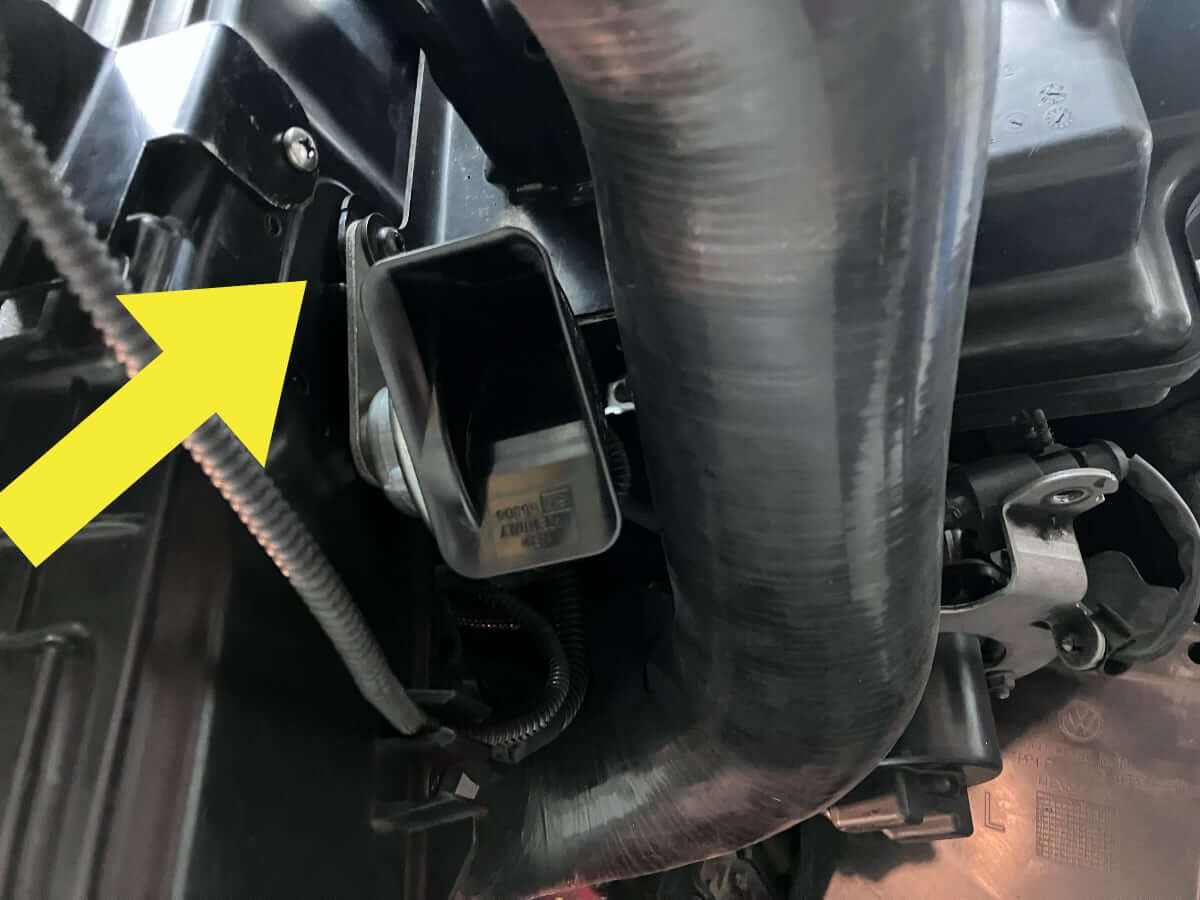
I hang the outside air temperature sensor (right-side middle clamp on IC hose) from one of the clamps to give it direct access to the outside air, free from the intercooler’s influence.
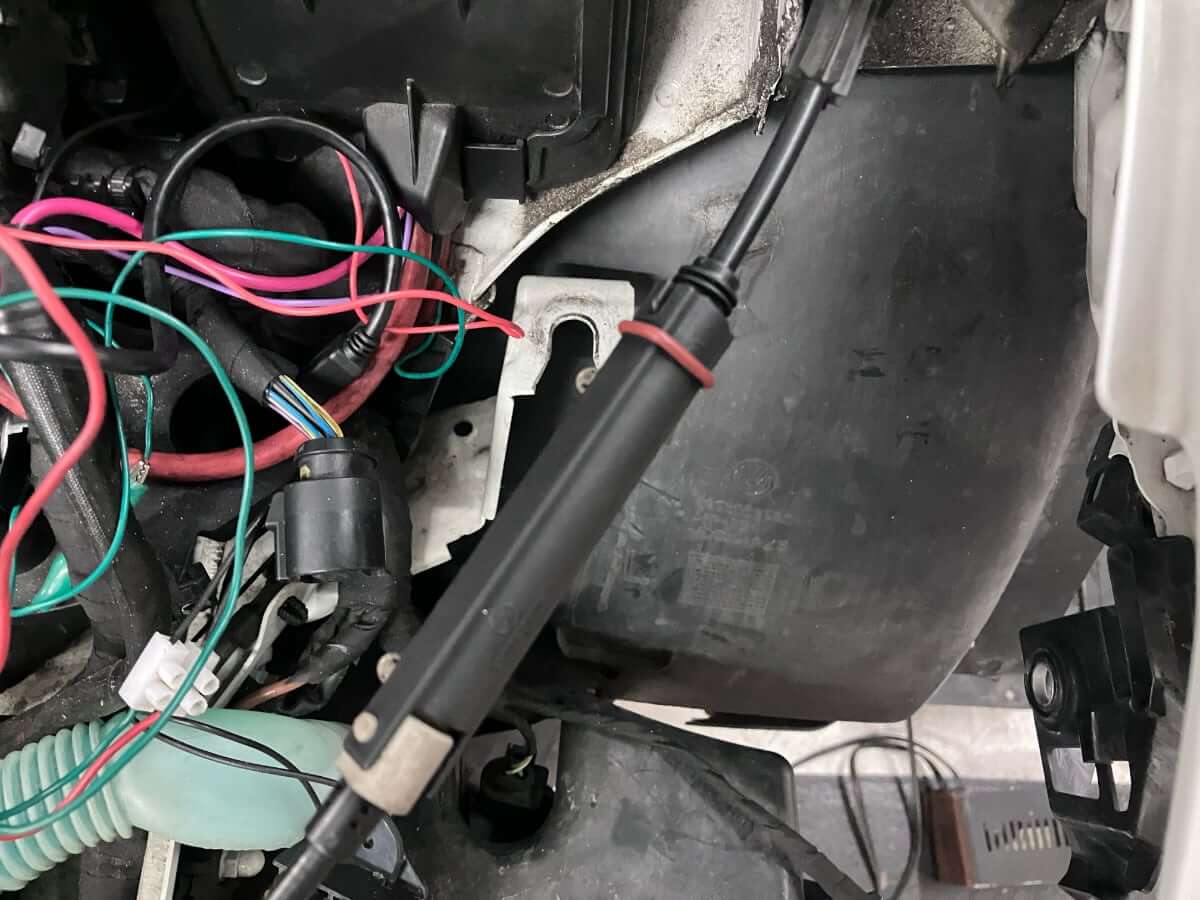
While putting all the parts back on the car, I grabbed this picture of the hood release cable. I’ve found that the o-ring from an oil supply line, replaced during a turbo swap, works well to secure the cover.
Next step:
With the new intercooler setup installed, my next activity will be to log the GTI to see if any performance changes are detected.