
Background:
What began as an exhaust system change driven by my desire for a single-brand system with specific attributes has evolved into testing different combinations of parts to evaluate audio performance.
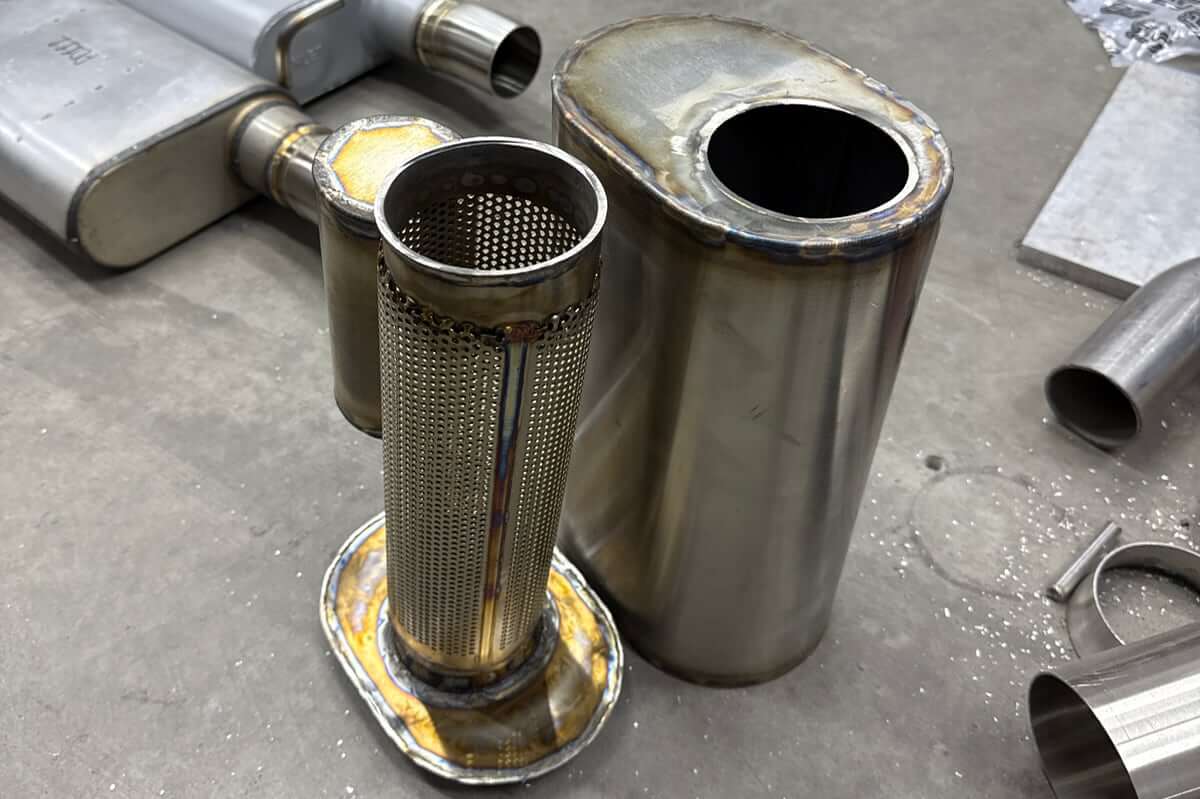
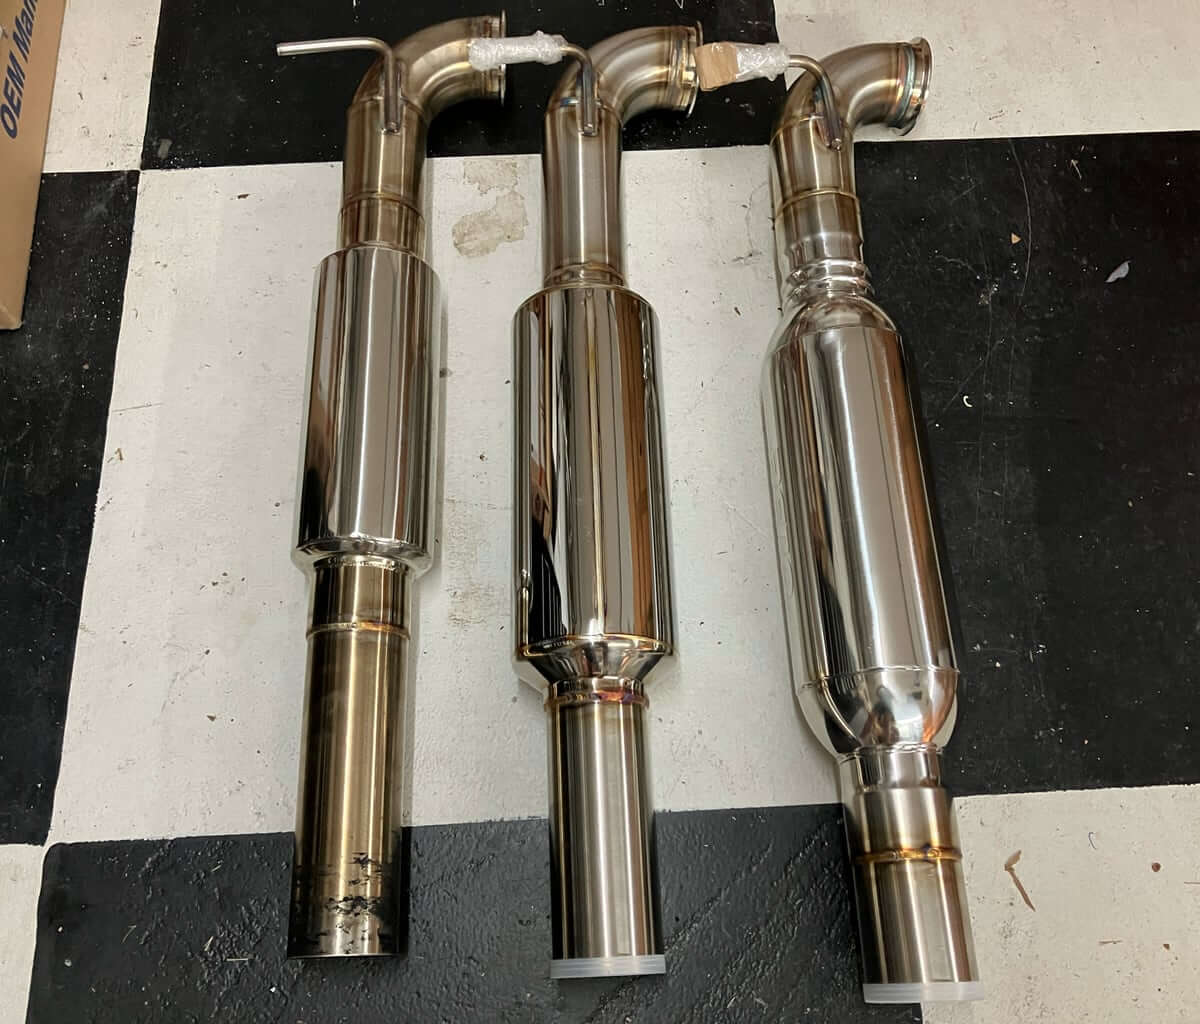
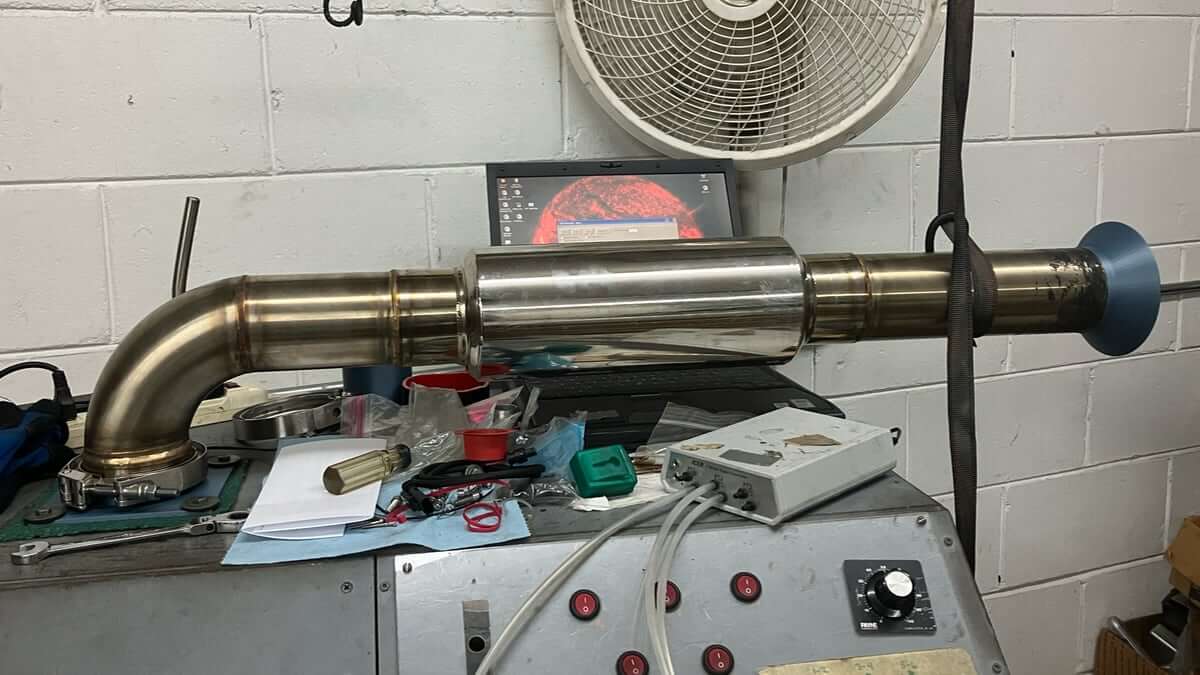
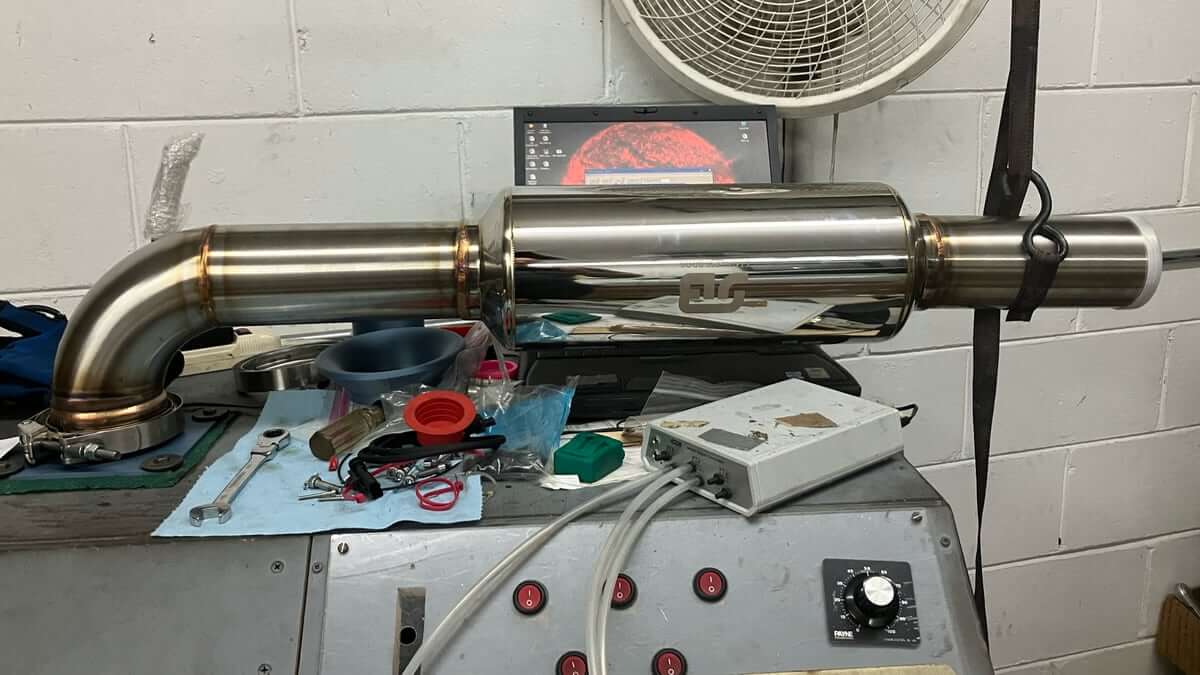
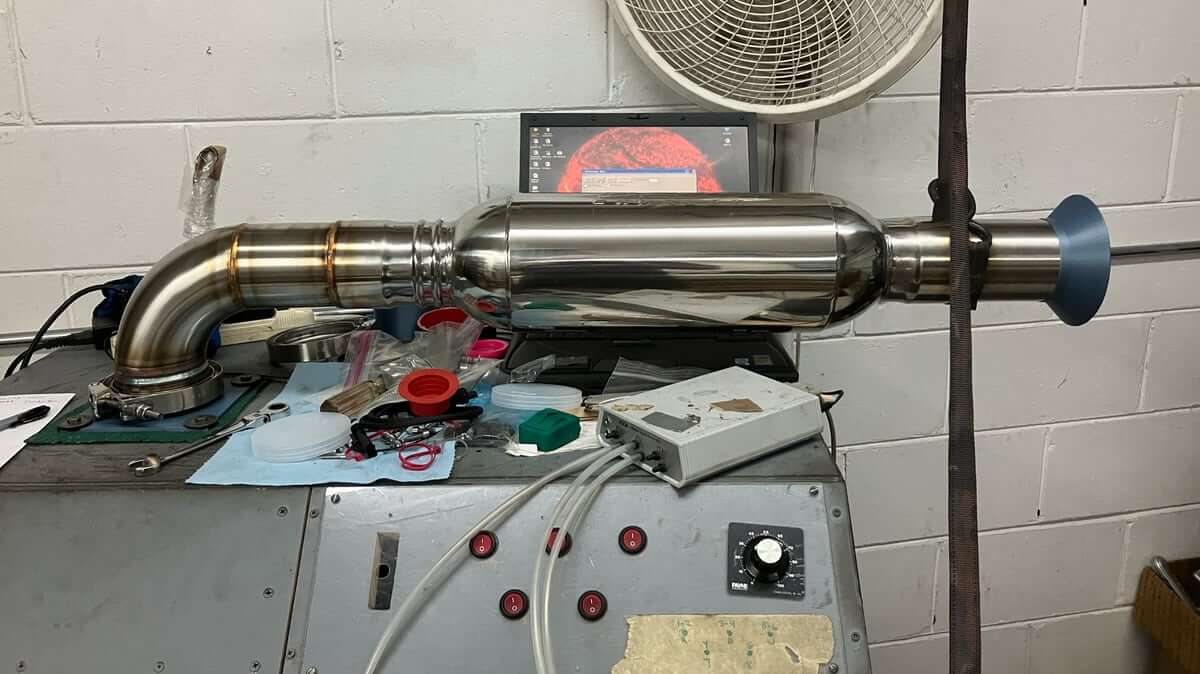
The current exhaust setup for the GTI from CC Design includes a 3.5″ midpipe with a resonator from Vibrant Performance.
The resonator is a straight-through design with perforations in the interior wall.
CC Design sent me a pair of prototype resonators to install and compare with the existing resonator midpipe.
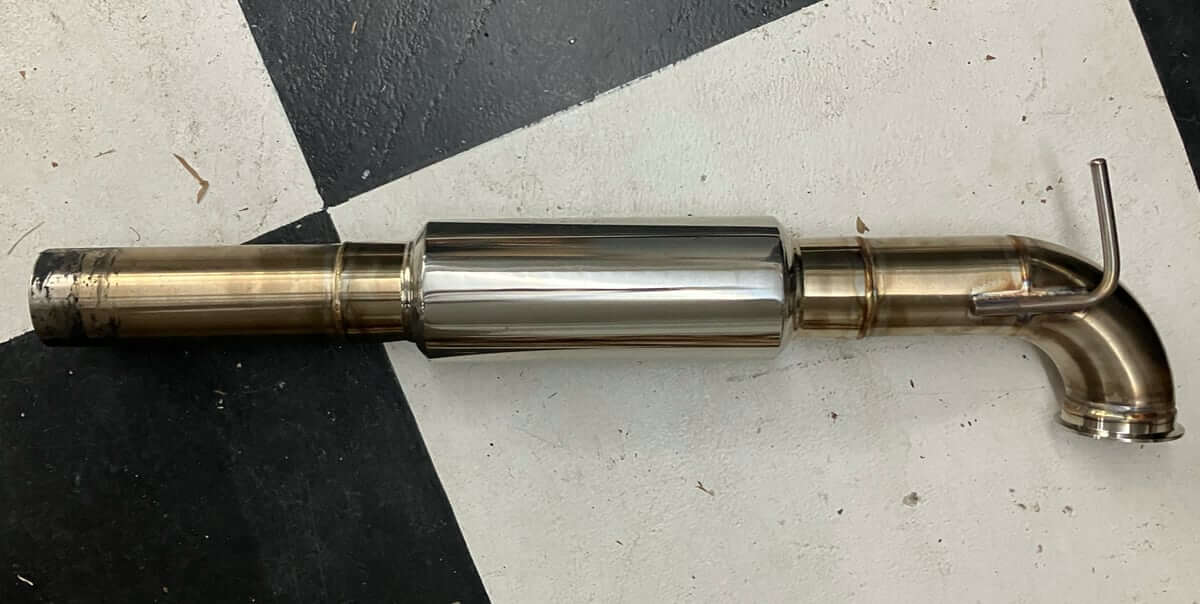
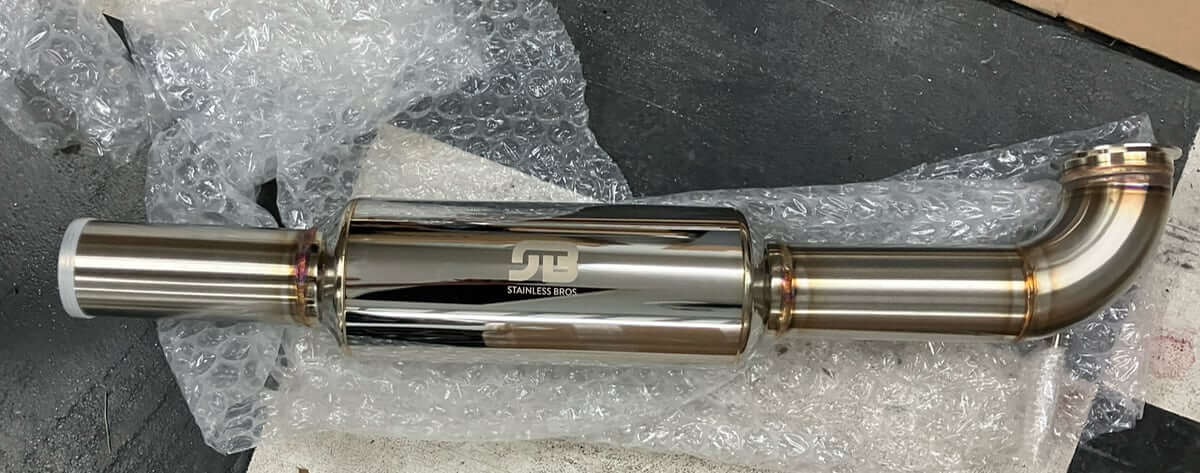
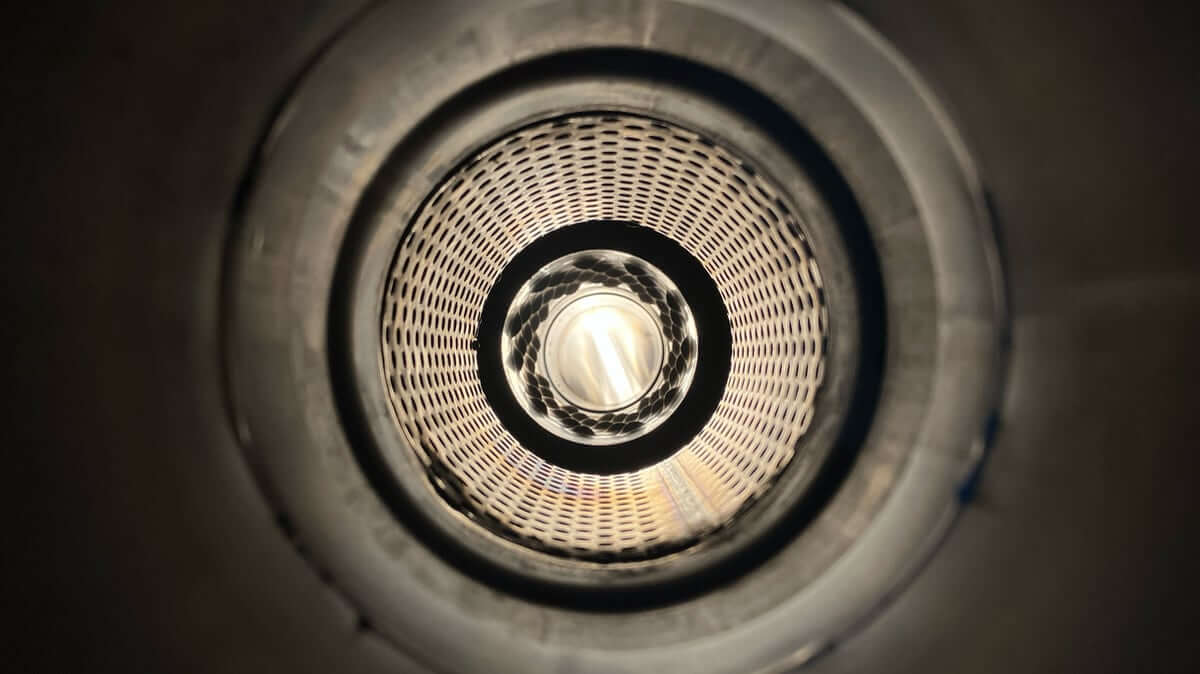
The first of the new designs is from Stainless Bros. and uses a 6″ diameter case, compared to 5″ with the Vibrant resonator.
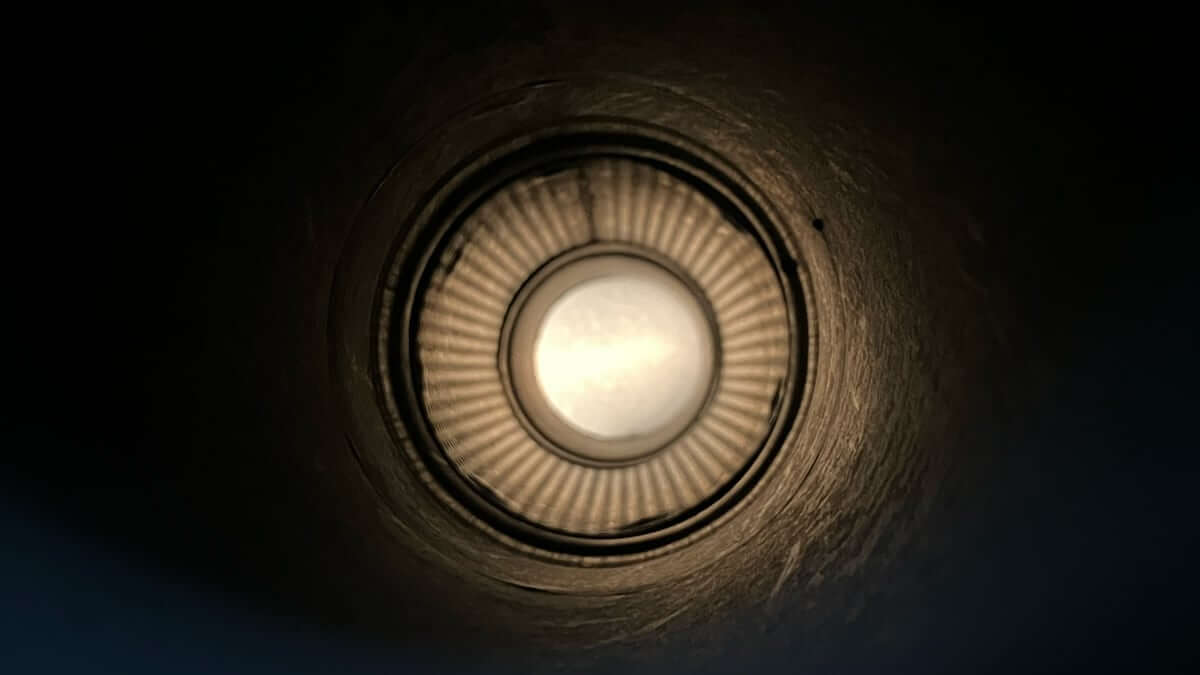
The Stainless Bros. system is still clean from not being used, and the light in the picture below illuminates the resonator’s interior better.
This resonator has a similar inside design to that of the Vibrant.
The third midpipe uses a resonator section from Aero Exhaust.
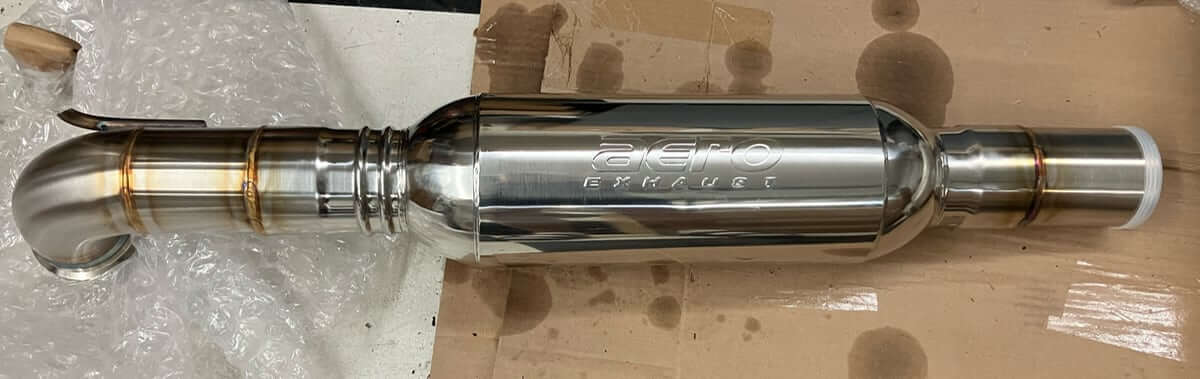
According to Aero Exhaust, this design “dramatically increases your vehicle’s performance” by expanding, spinning, and generating a vacuum through recombining airstreams.
I’m skeptical that all of this airflow manipulation will improve performance compared with a straight length of pipe, so a few full-throttle pulls will be logged to compare acceleration times.
CC Design Muffler Update:
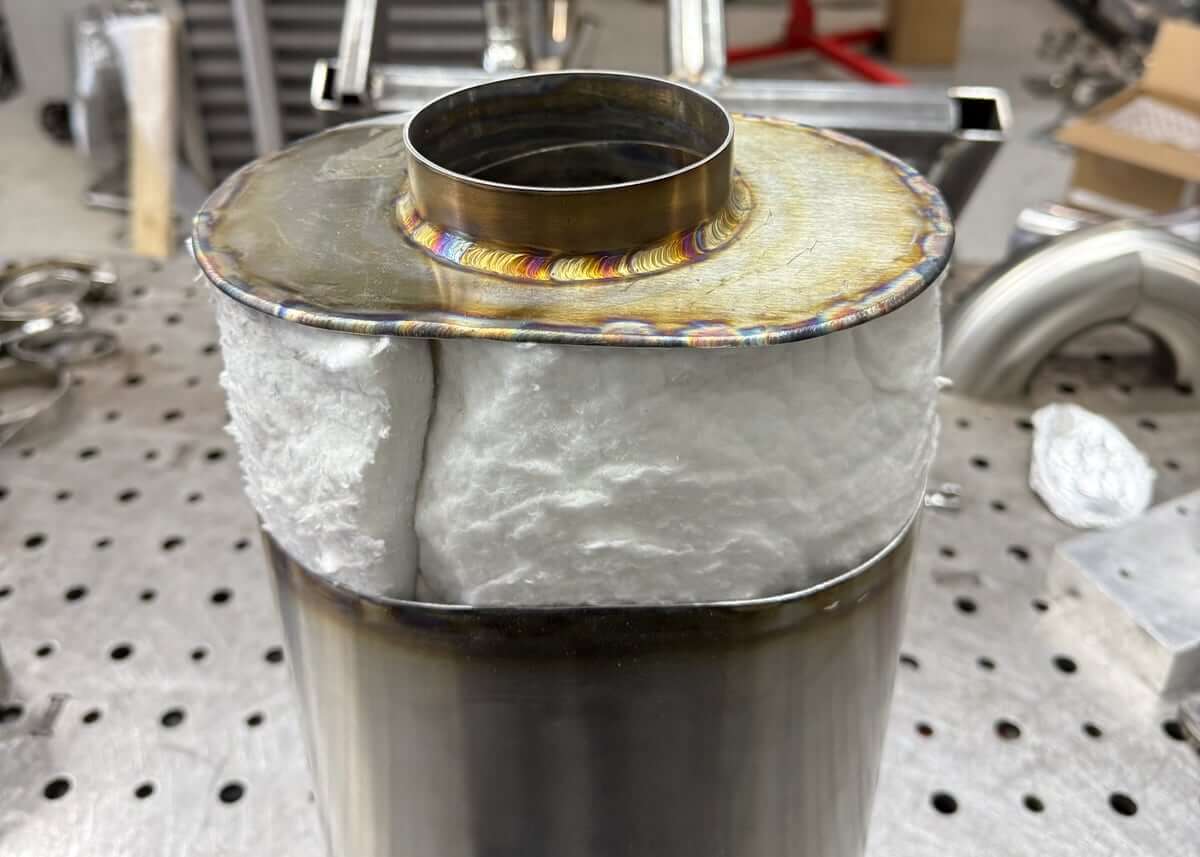
The muffler section of the CC Design exhaust is also undergoing a change, with a switch in packing material inside the muffler case.
The center passage is first wrapped in stainless steel.
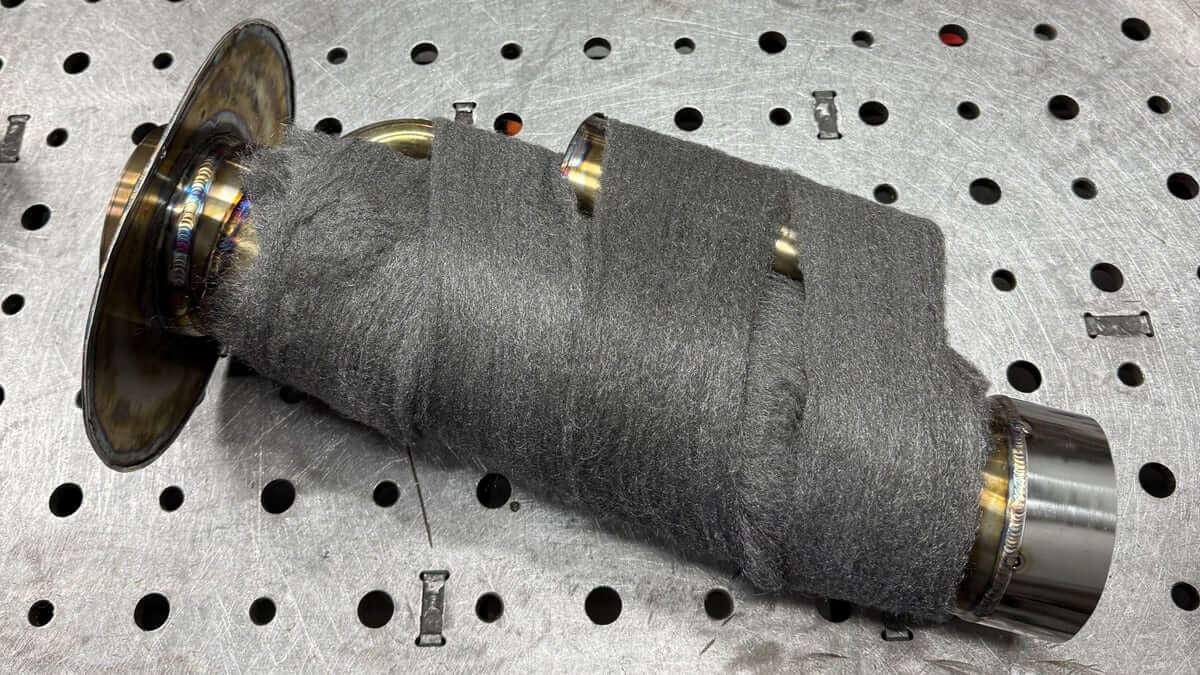
Then the remainder of the muffler case is filled with a ceramic packing material.
Test Objective:
Measurements will be recorded to:
- Check for reduced volume from the revised muffler.
- Check for reduced volume and a change in the frequency spectrum compared to the baseline vibrant resonator when using the Stainless Bros. resonator and the Aero Turbine resonator.
- Record post-turbocharger exhaust gas temperature (EGT) to determine any change with the Aero Exhaust Turbine muffler.
First, though, a flow test is made with the different midpipes to check for any significant changes in airflow rate.
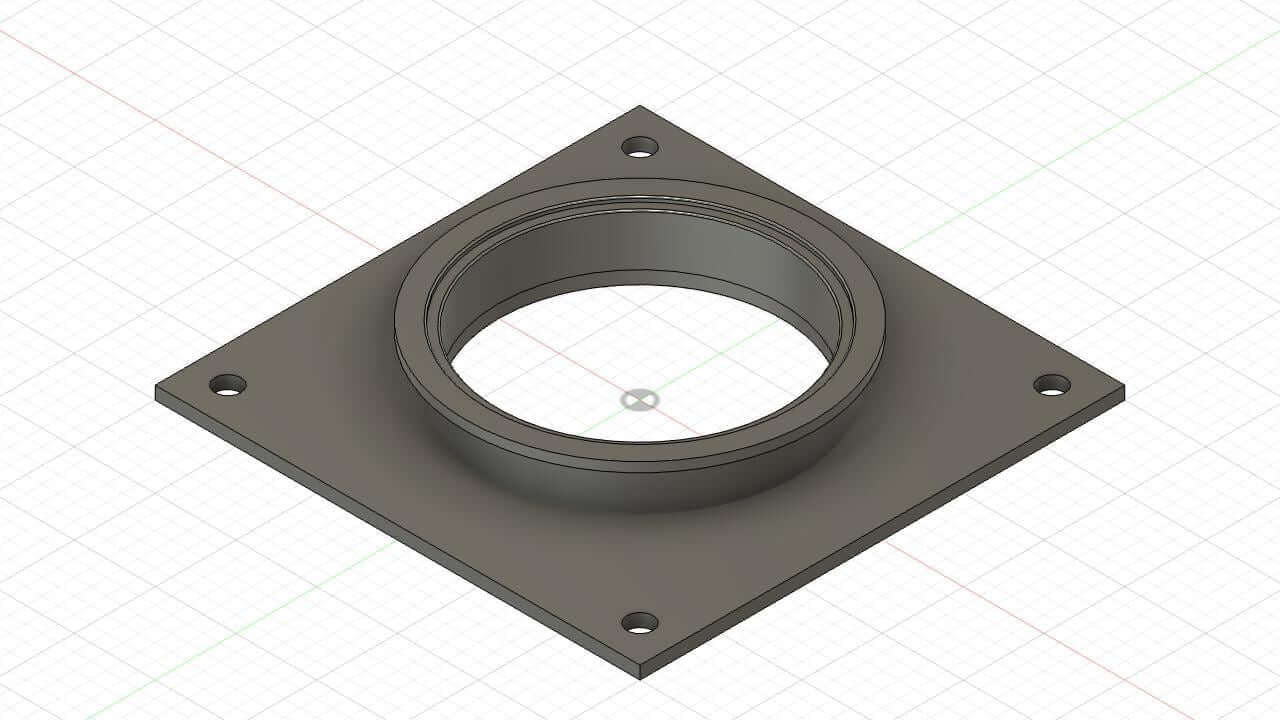
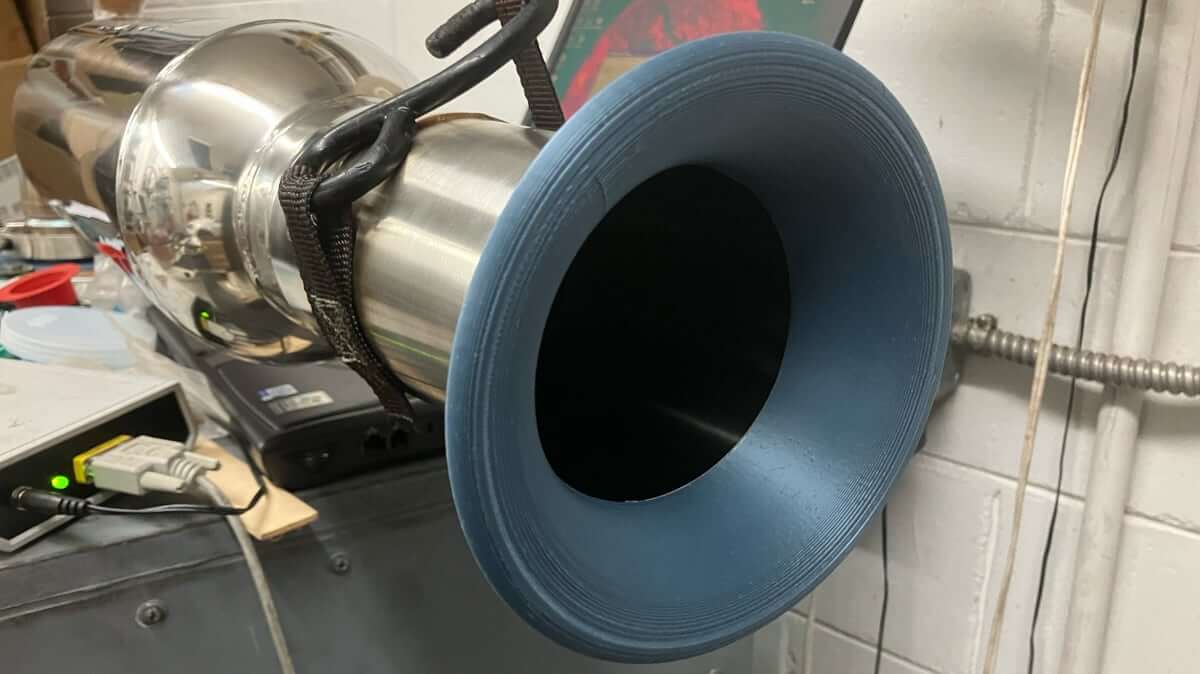
An adapter is made to connect the midpipe outlet to the flow bench.
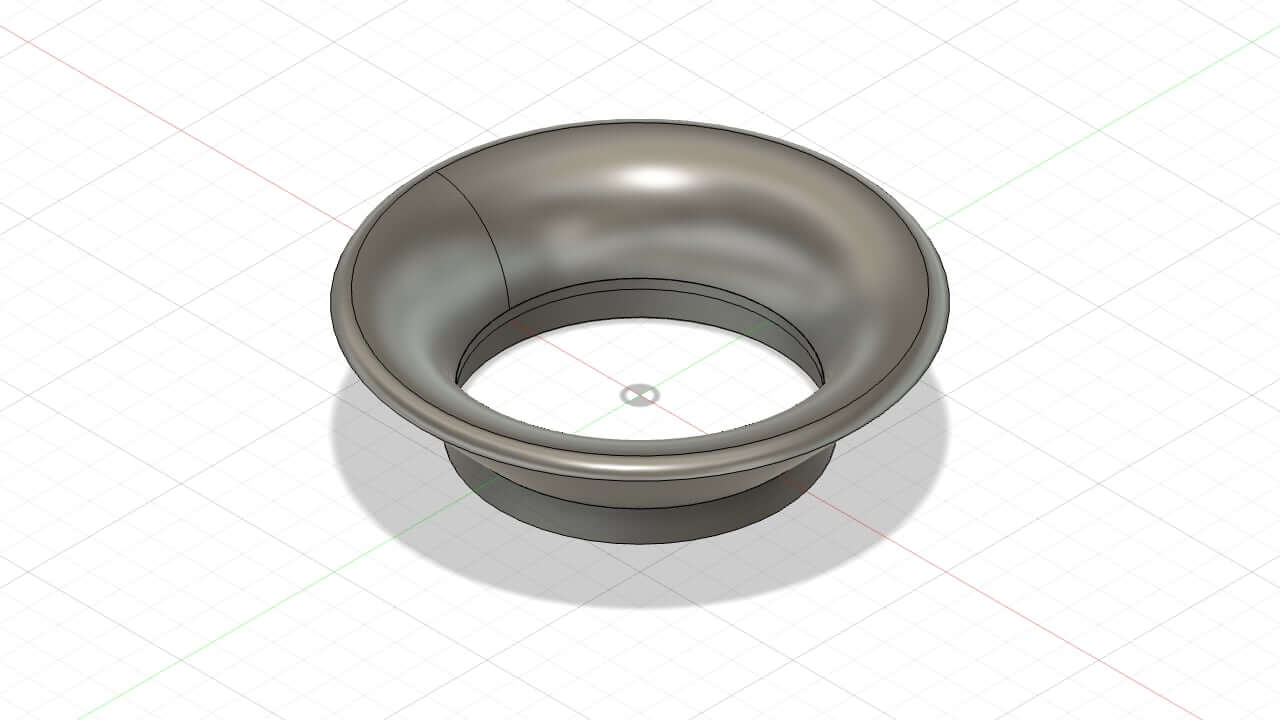
A bellmouth is designed to fit over the inlet of the midpipe to help smooth airflow into the pipe.
Flow Tests:
During the flow test, each midpipe has the bellmouth attached to the inlet end.
The bench adapter is used in conjunction with a V-band clamp to attach the midpipe to the flow bench.
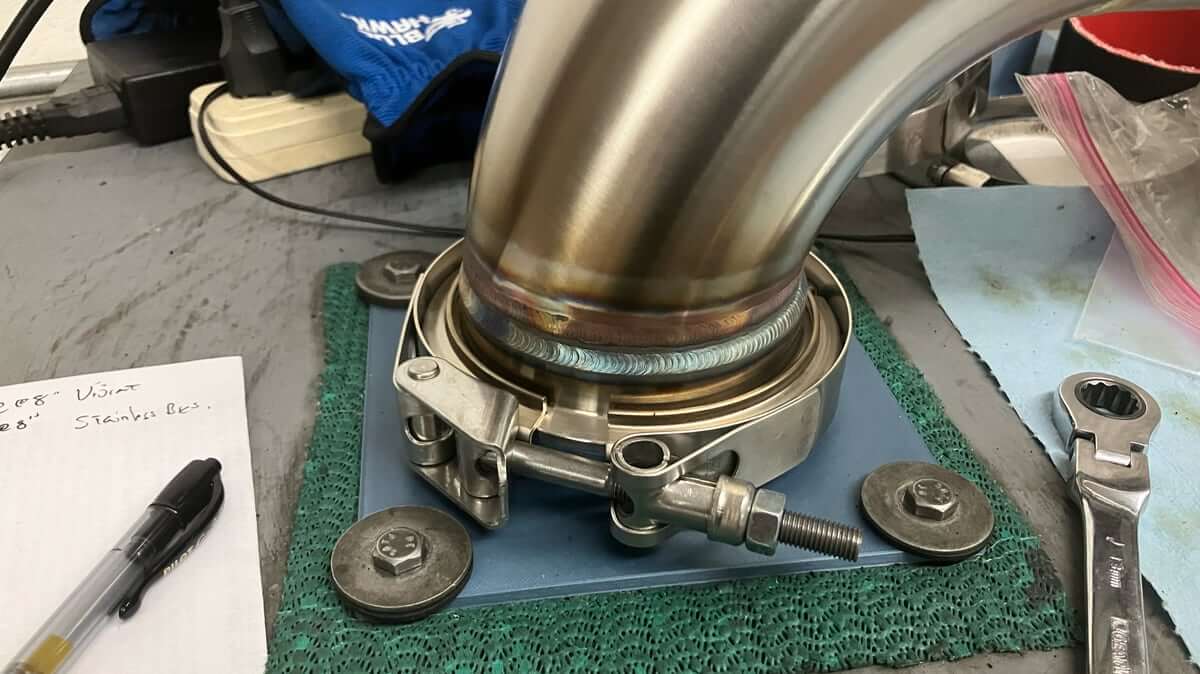
The flow bench is operated at 8″ of depression, and the airflow rate through the midpipe is recorded.
Note: Testing at 8″ of depression is lower than the 28″ of H2O at which many other parts I have tested were made. This lower pressure drop is being used due to the very high airflow that a 3.5″ length of pipe can flow. The bench maximum airflow rate is approximately 600 CFM, which this diameter of pipe can flow with very little pressure drop.
The Vibrant equipped midpipe flows 562 CFM @ 8″ of H2O.
The Stainless Bros. equipped midpipe flows 556 CFM @ 8″ of H2O.
The Aero Exhaust eqipped midpipe flows 527 CFM @ 8″ of H2O.
The flow test results with the midpipes are compared in the following chart:
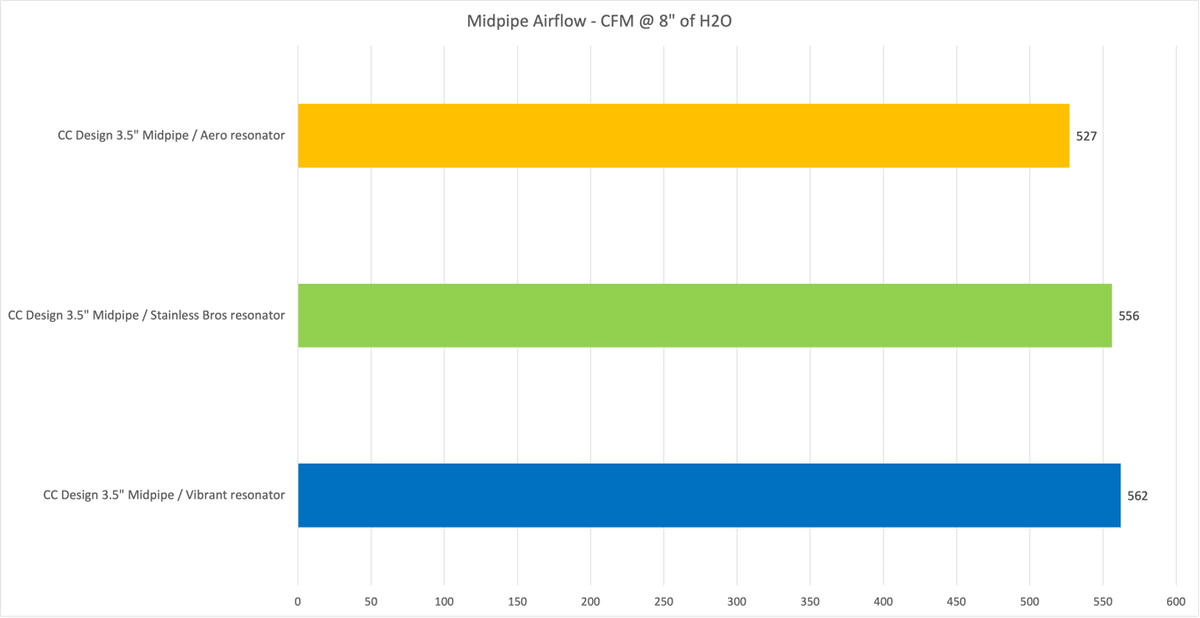
The Vibrant and Stainless Bros. versions flow approximately the same amount. A 6 CFM difference at ~560 CFM and 8″ of pressure drop is negligible.
The Aero Exhaust mipipe flows slightly less, unsurprisingly, given the departure from a straight-through design:
Conclusions:
This post addresses the design differences of three midipipe variations from CC Design and Fabrication, which have been provided for assessment of their audio properties in future test sessions.
A flow test was conducted using the midpipes to check for airflow differences, which were found to be minor – all of the midpipes flowed in excess of 500 CFM at a test depression of 8″ of H2O.