
Installation of the second version of an eBay FMIC on my Mk7 GTI.

This product appears to be a copycat of the Mabotech, or perhaps the vendor that Mabotech obtains the intercooler from also sells it under a different brand name. Either way, dimensionally they measure out similarly.
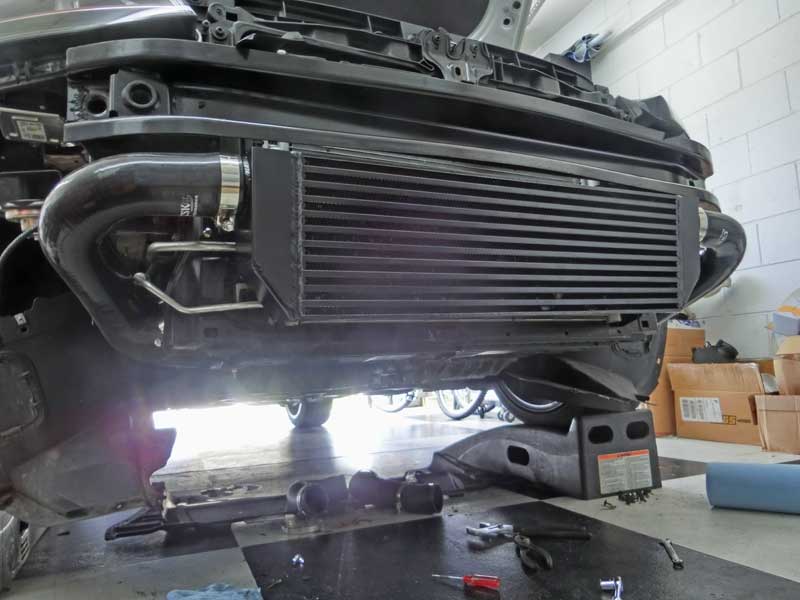
This front mount intercooler is supplied with hoses that enable it to run in the twin cooler configuration, sometime referred to as a twintercooler. The hoses branch off to allow air to also pass through the GTI stock intercooler in addition to passing through the eBay FMIC.

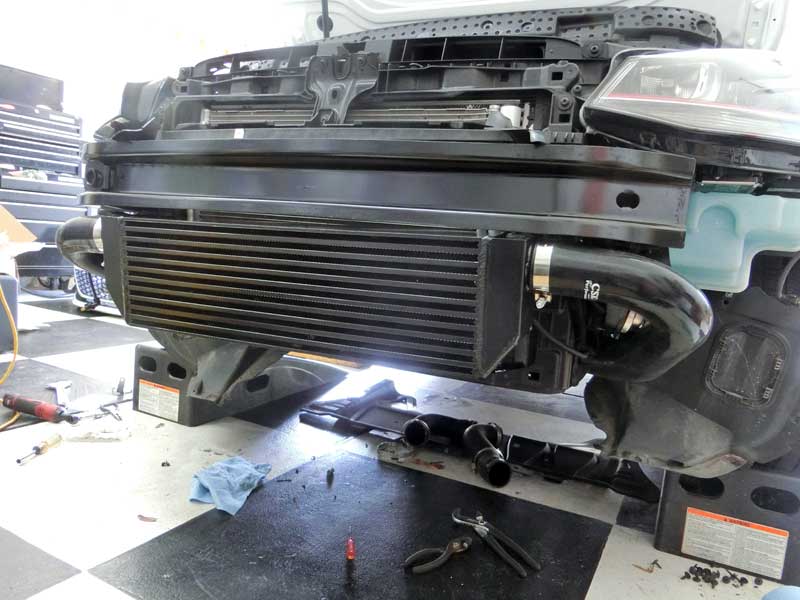
Overall the intercooler looks to be well-built. I mounted the core slightly tilted so that the screws that support the core would attach to the radiator support in areas that looked to be most appropriate. The passenger side has a couple eighths of an inch more gap with the crash bar than the driver side.
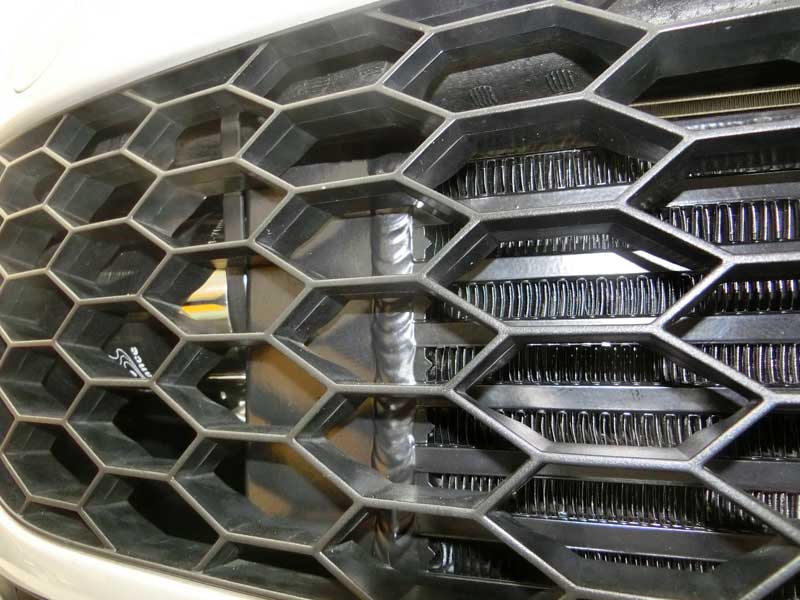
This intecooler core is deeper than the first offered eBay FMIC for the Mk7 GTI. The brackets could stand to be about a quarter of an inch shorter so that the front of the core avoids contacting the plastic grill. As it stands the plastic grill just contacts the FMIC core for a snug fit.
This causes the under tray to not align precisely. The tray is off about 1/8″ and to allow the screws on the bottom of the tray to attach new holes needed to be drilled in three locations

The horns on both sides also needed to be moved as did the Outside Air Temperature sensor.
I’m looking to add one of these in the spring to my ’17 and this is the one I’ve been watching on the forums. I saw you’d posted about doing some logging, did you get to finish that? Install doesn’t seem too bad on this vs. full replacement IC. Thanks, Drew
The installation was straight forward. I did one of the direct fits about a month ago and it wasn’t bad, just have more steps to follow. From what I have seen so far the performance of this FMIC is on par with other ICs, whether it’s a direct fit or FMIC. I’ll eventually post up some logs of using it on my driving route. I haven’t pushed it heavy under boost to see how it does, but I don’t drive that way so I’m not concerned.
Hi, Jeff. Where did you relocate the horn and air temp sensor to? I think this is the intercooler I’m going to go with. I ordered the 2.25 coupler. I’m just waiting for eBay to offer one of those 10% off promo codes. Hopefully I’ll have it installed sometime this spring.
The intercooler had a pair of small brackets that can be used to extend the horn position outward by about two inches. I also twisted the bracket, it is lightweight metal, to better orient the opening of the horn to the front. For the air temperature sensor I attached it to the T-bolt clamp on the driver’s side of the IC. There’s a hole built into the bracket of the IC for the temperature sensor, but it is toward the back and I found I was getting higher than actual temperature readings. With the sensor placed alongside the hose clamp it is directly in the path of incoming air and I’ve found it reads correctly now, and also responds more quickly than in the bracket position.